Almond Cresents

I haven’t been very inspired in the kitchen lately. It’s not that I’m not cooking, it’s just I haven’t been cooking much interesting lately. I will admit to being a little distracted (more on that in a later post – hopefully this week) and just tired. Normally after a month back at work I’ve settled back into the routine, but this year is proving much more difficult. 


Despite my distractions, I did manage to make Dad the almond cresent cookies for his birthday. Totally forgot to bring them to him, but they are still here for a now belated birthday present. 

There are a few things I make that channel my grandmother’s recipes; BBQ chicken, chiffon cake with mocha icing and the almond cresent cookies. They are not the exact recipe she used, but I do come close.

Recipe:

  • 1 cup (2 sticks) unsalted butter, room temperature
  • 2/3 cup sugar + more for dipping
  • 1/2 teaspoon salt
  • 1 tablespoon vanilla extract
  • 1 teaspoon almond extract (optional)
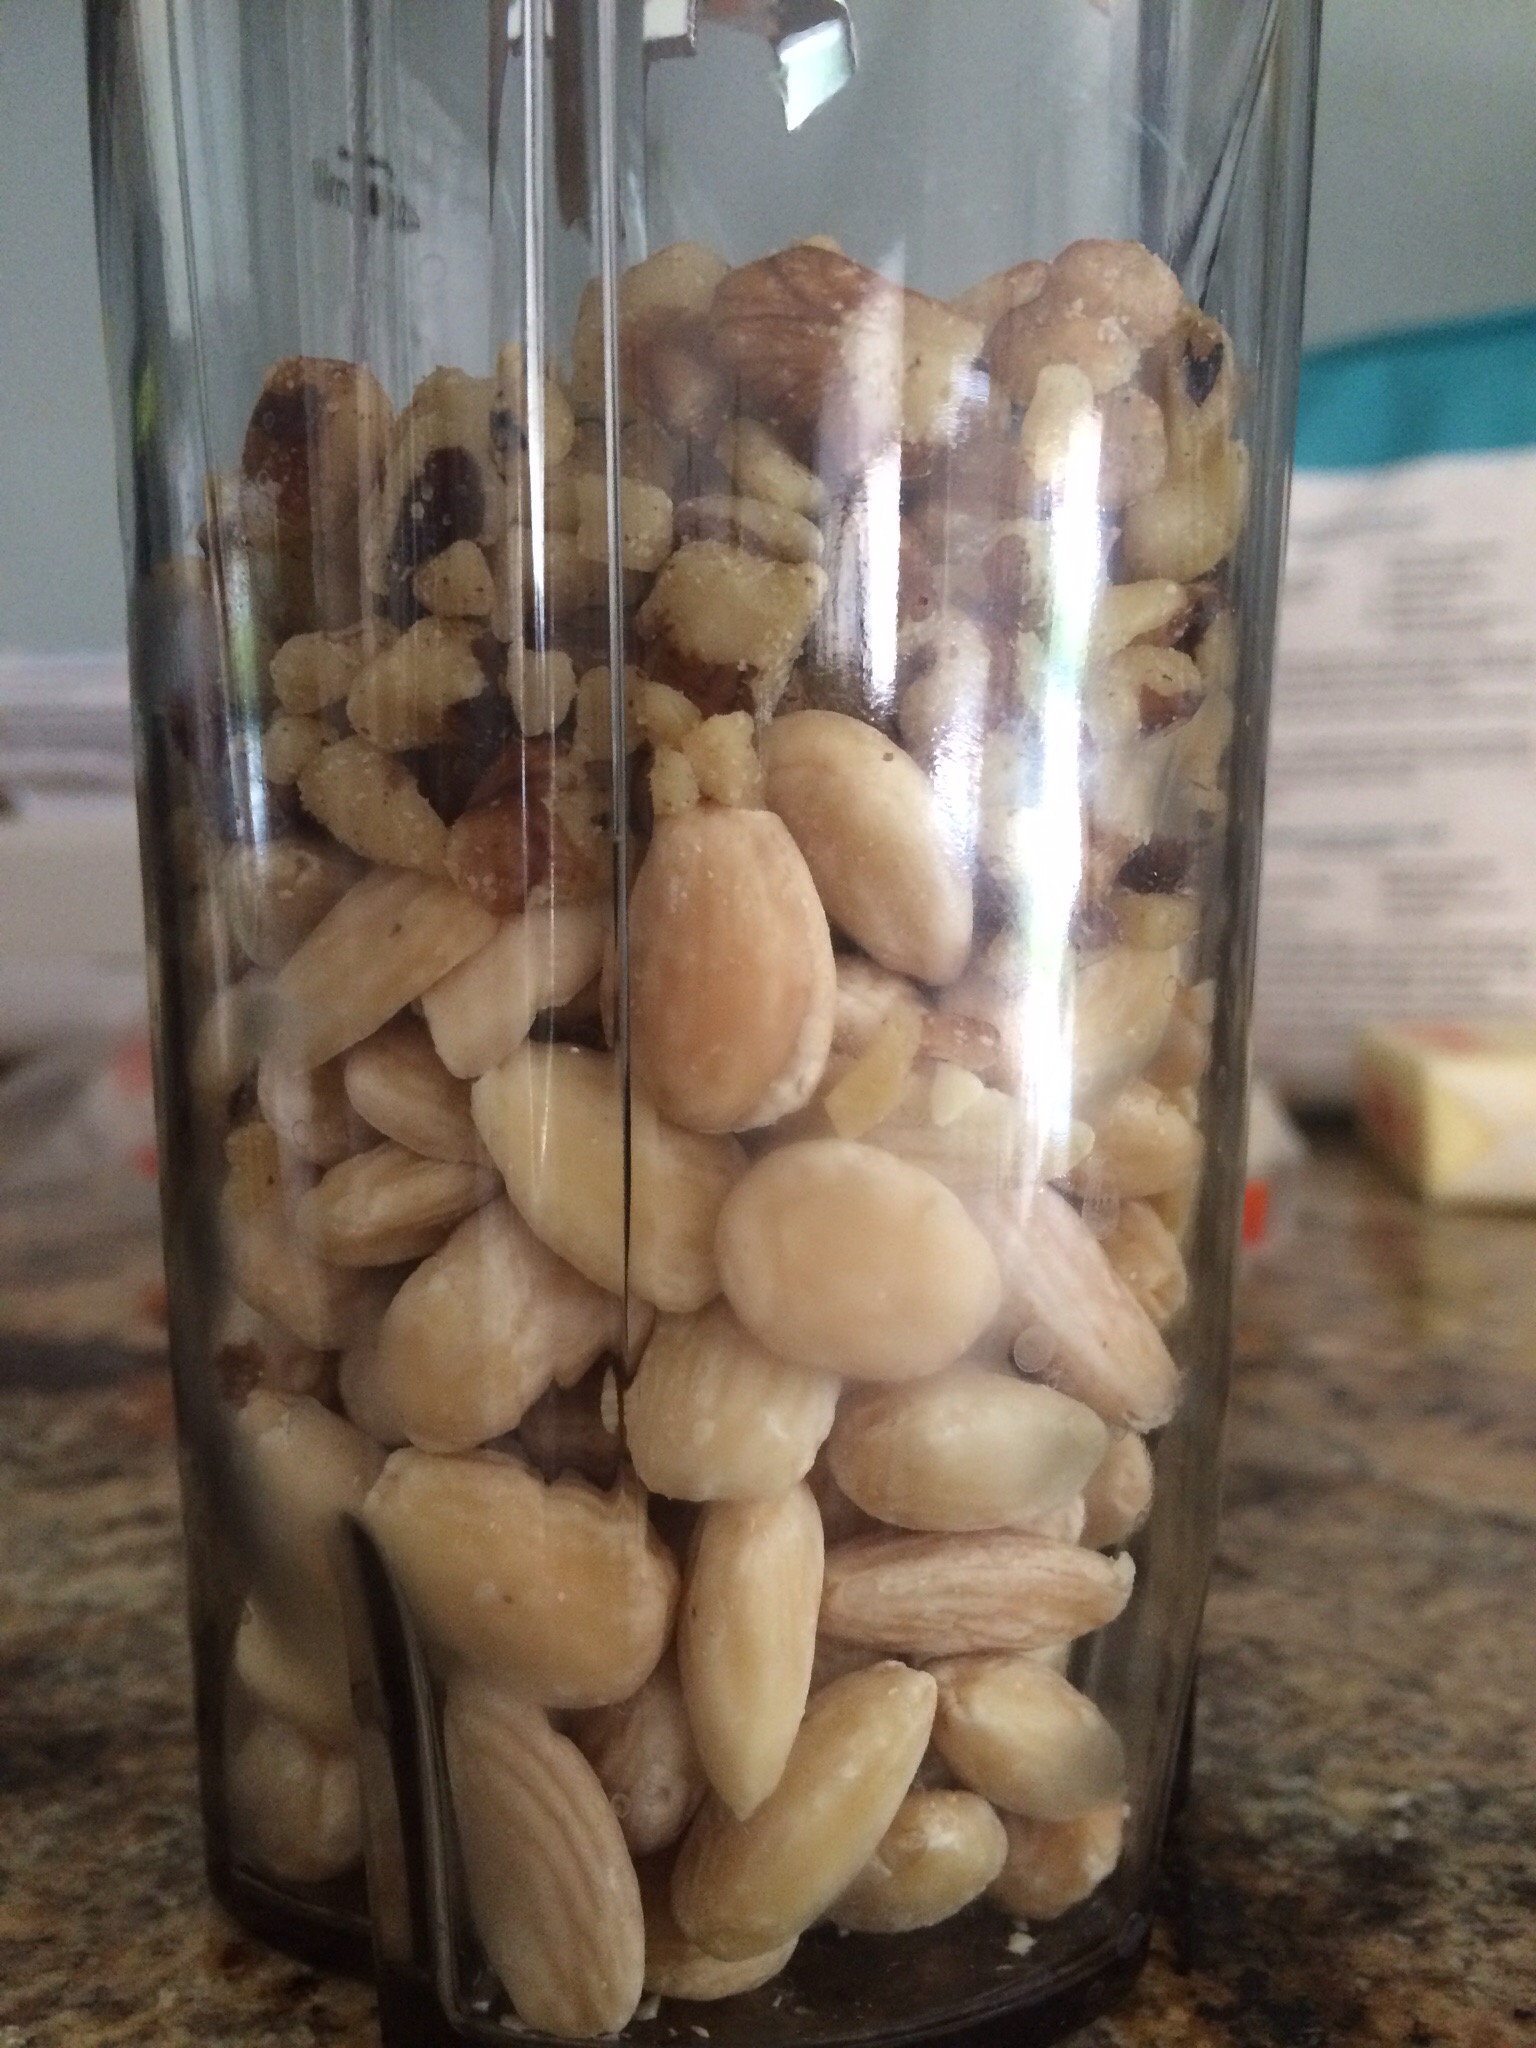
  • 1 cup finely ground nuts (I went with 3/4 almond, 1/4 walnut, but experiment with your favorites)
  • 2 1/2 – 2 2/3 cup flour (humidity depending, start with the lower amount)

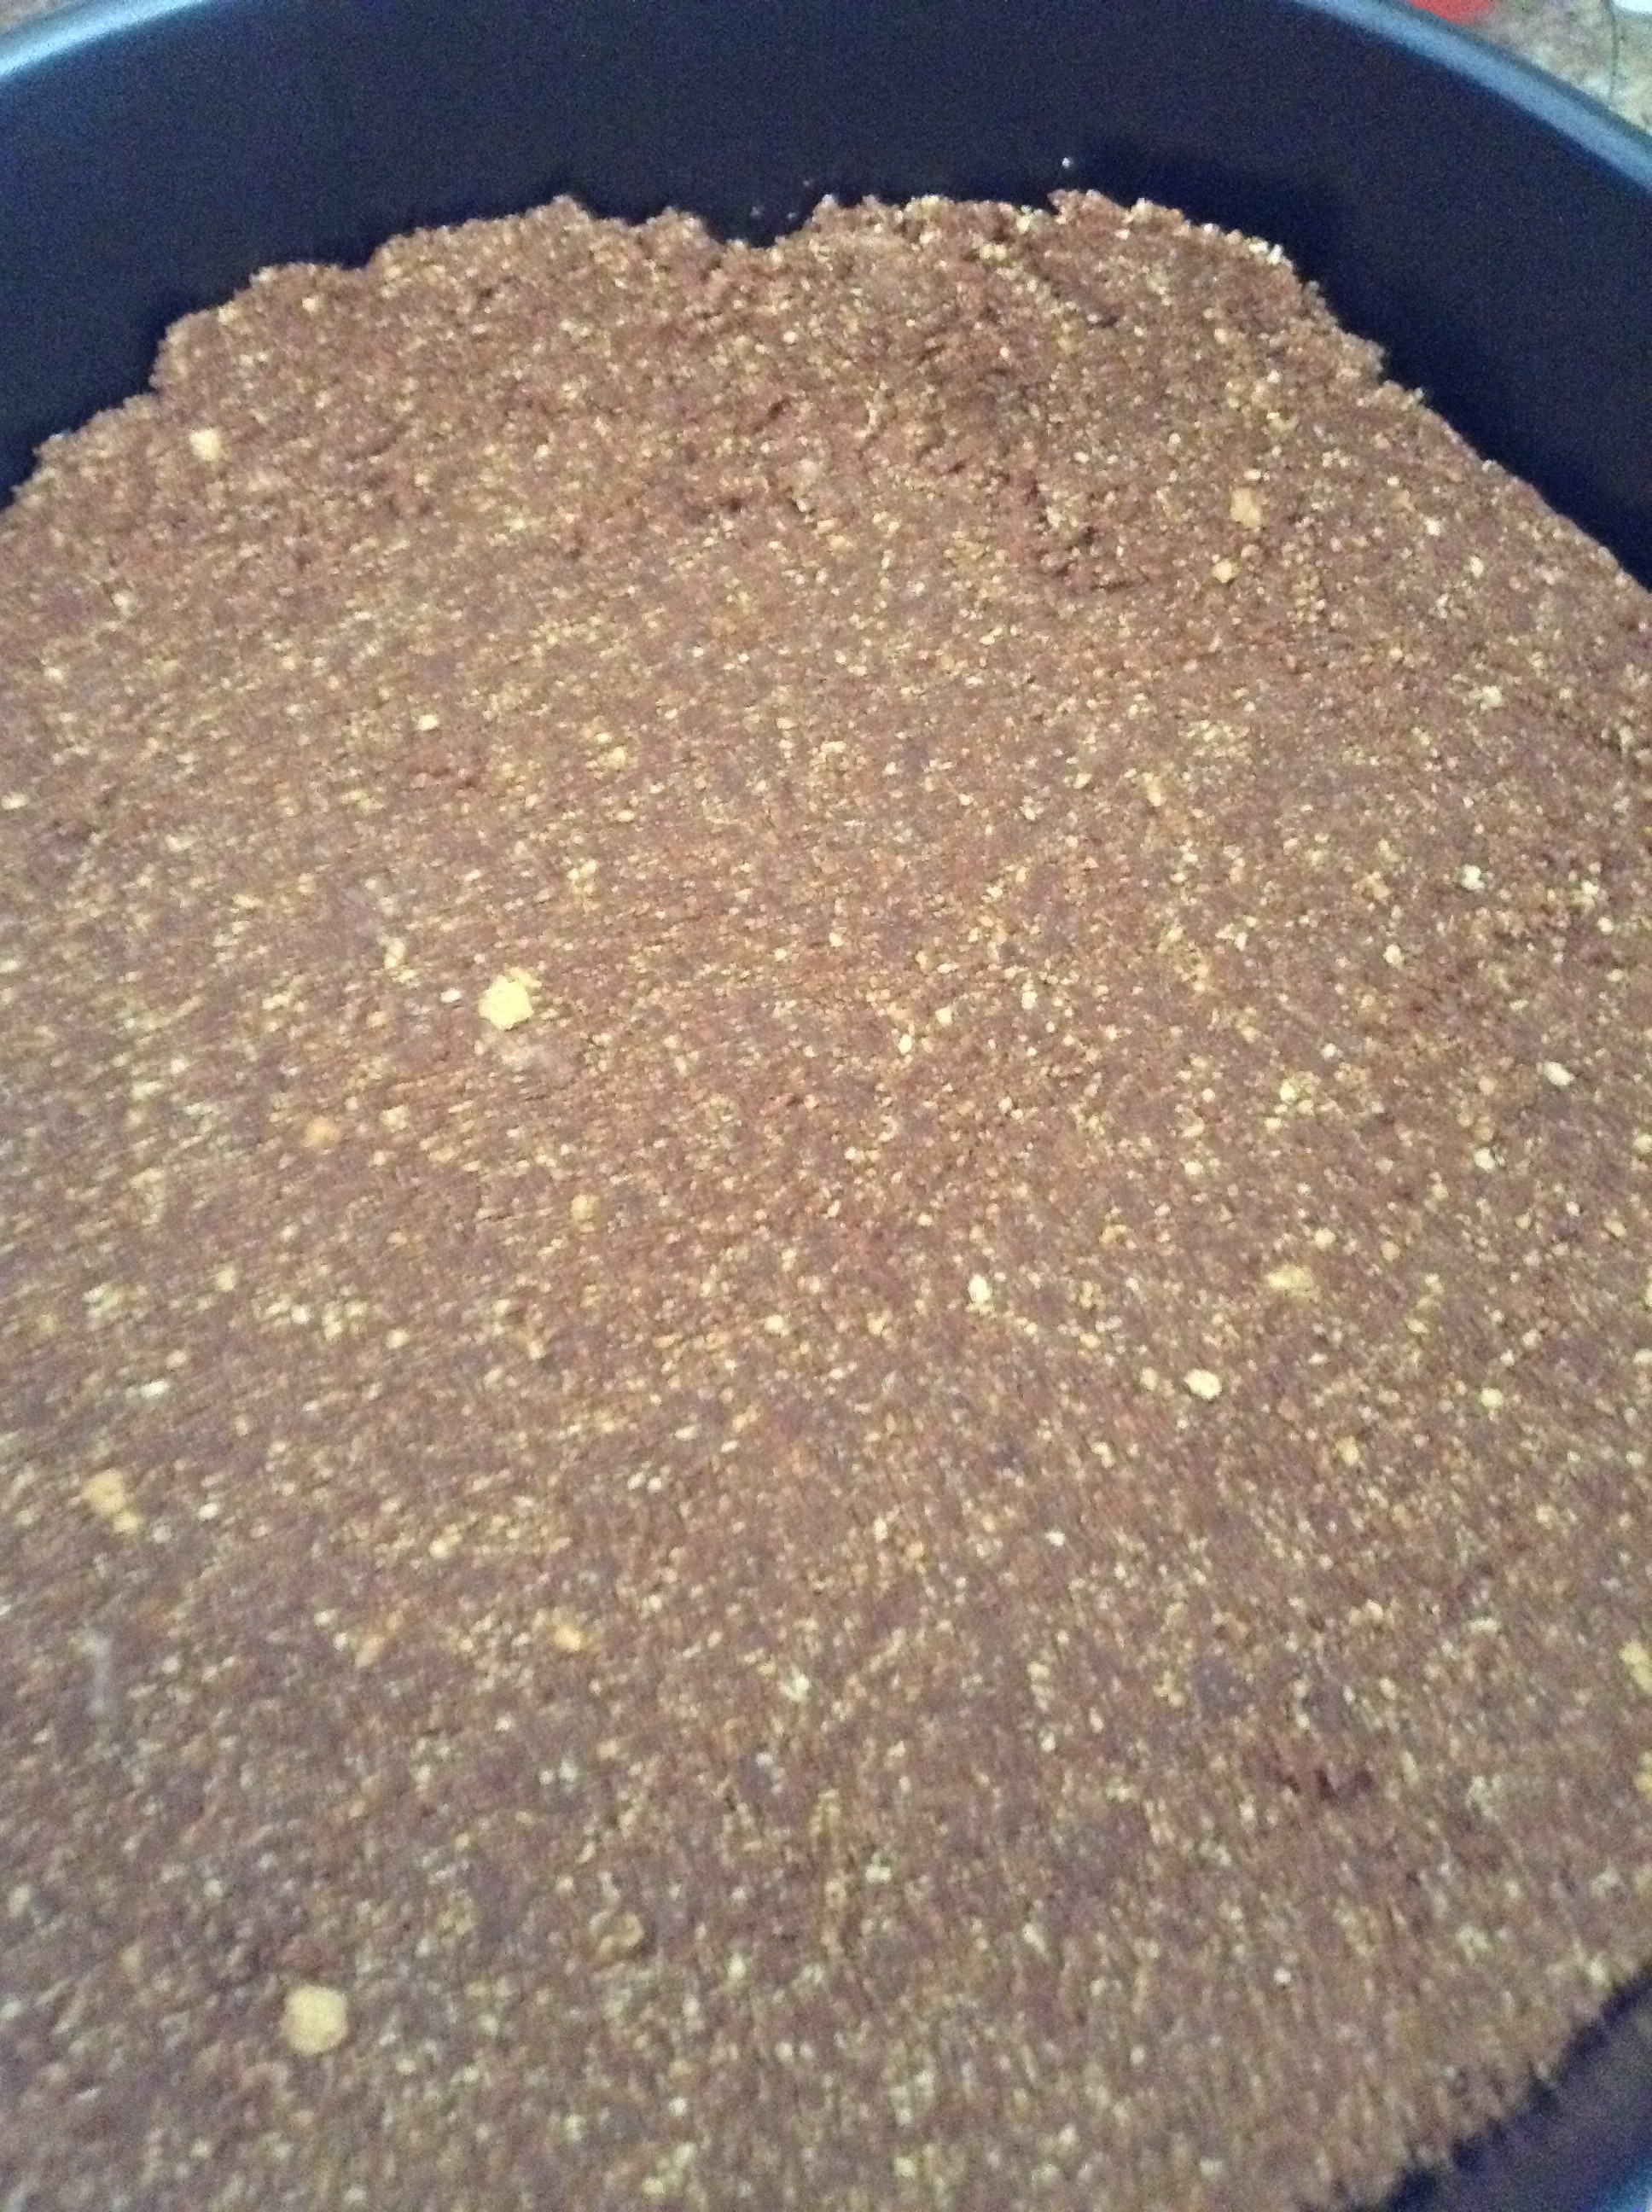
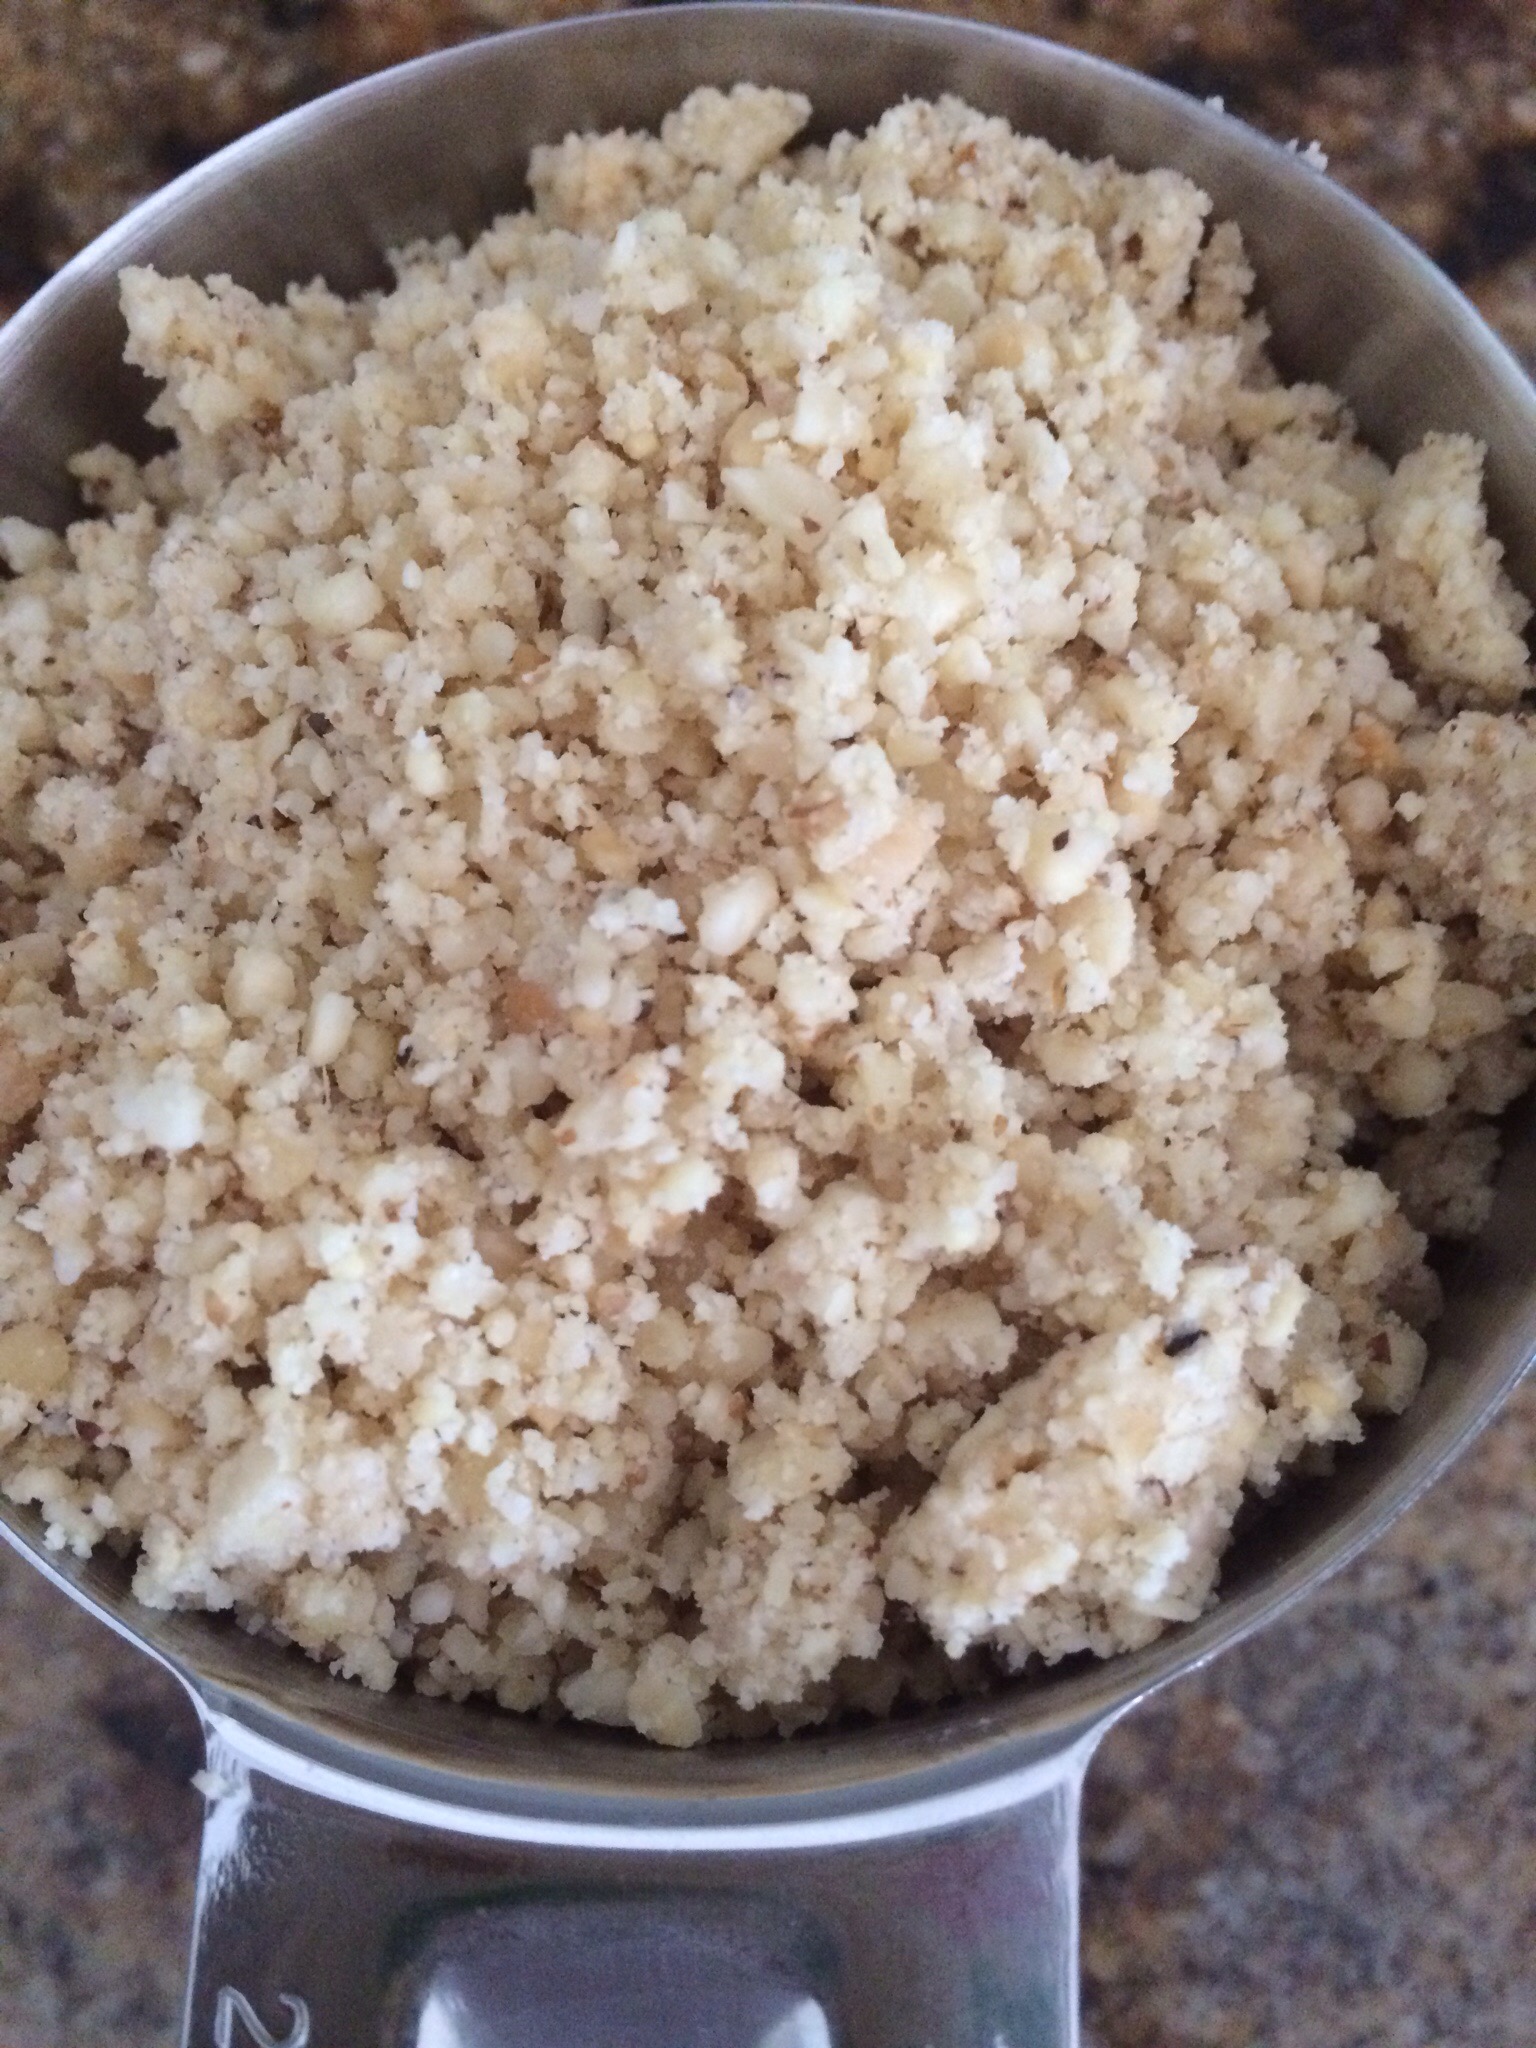
  For this recipe, you want the nuts very finely ground. The finer the better. I’ve seen some recipes calling for nut flour, but I really prefer the ground nuts. More flavor and a better texture. 
Cream together the butter and sugar until light and fluffy. Add the extracts, salt and the ground nuts. Fold everything together well.  

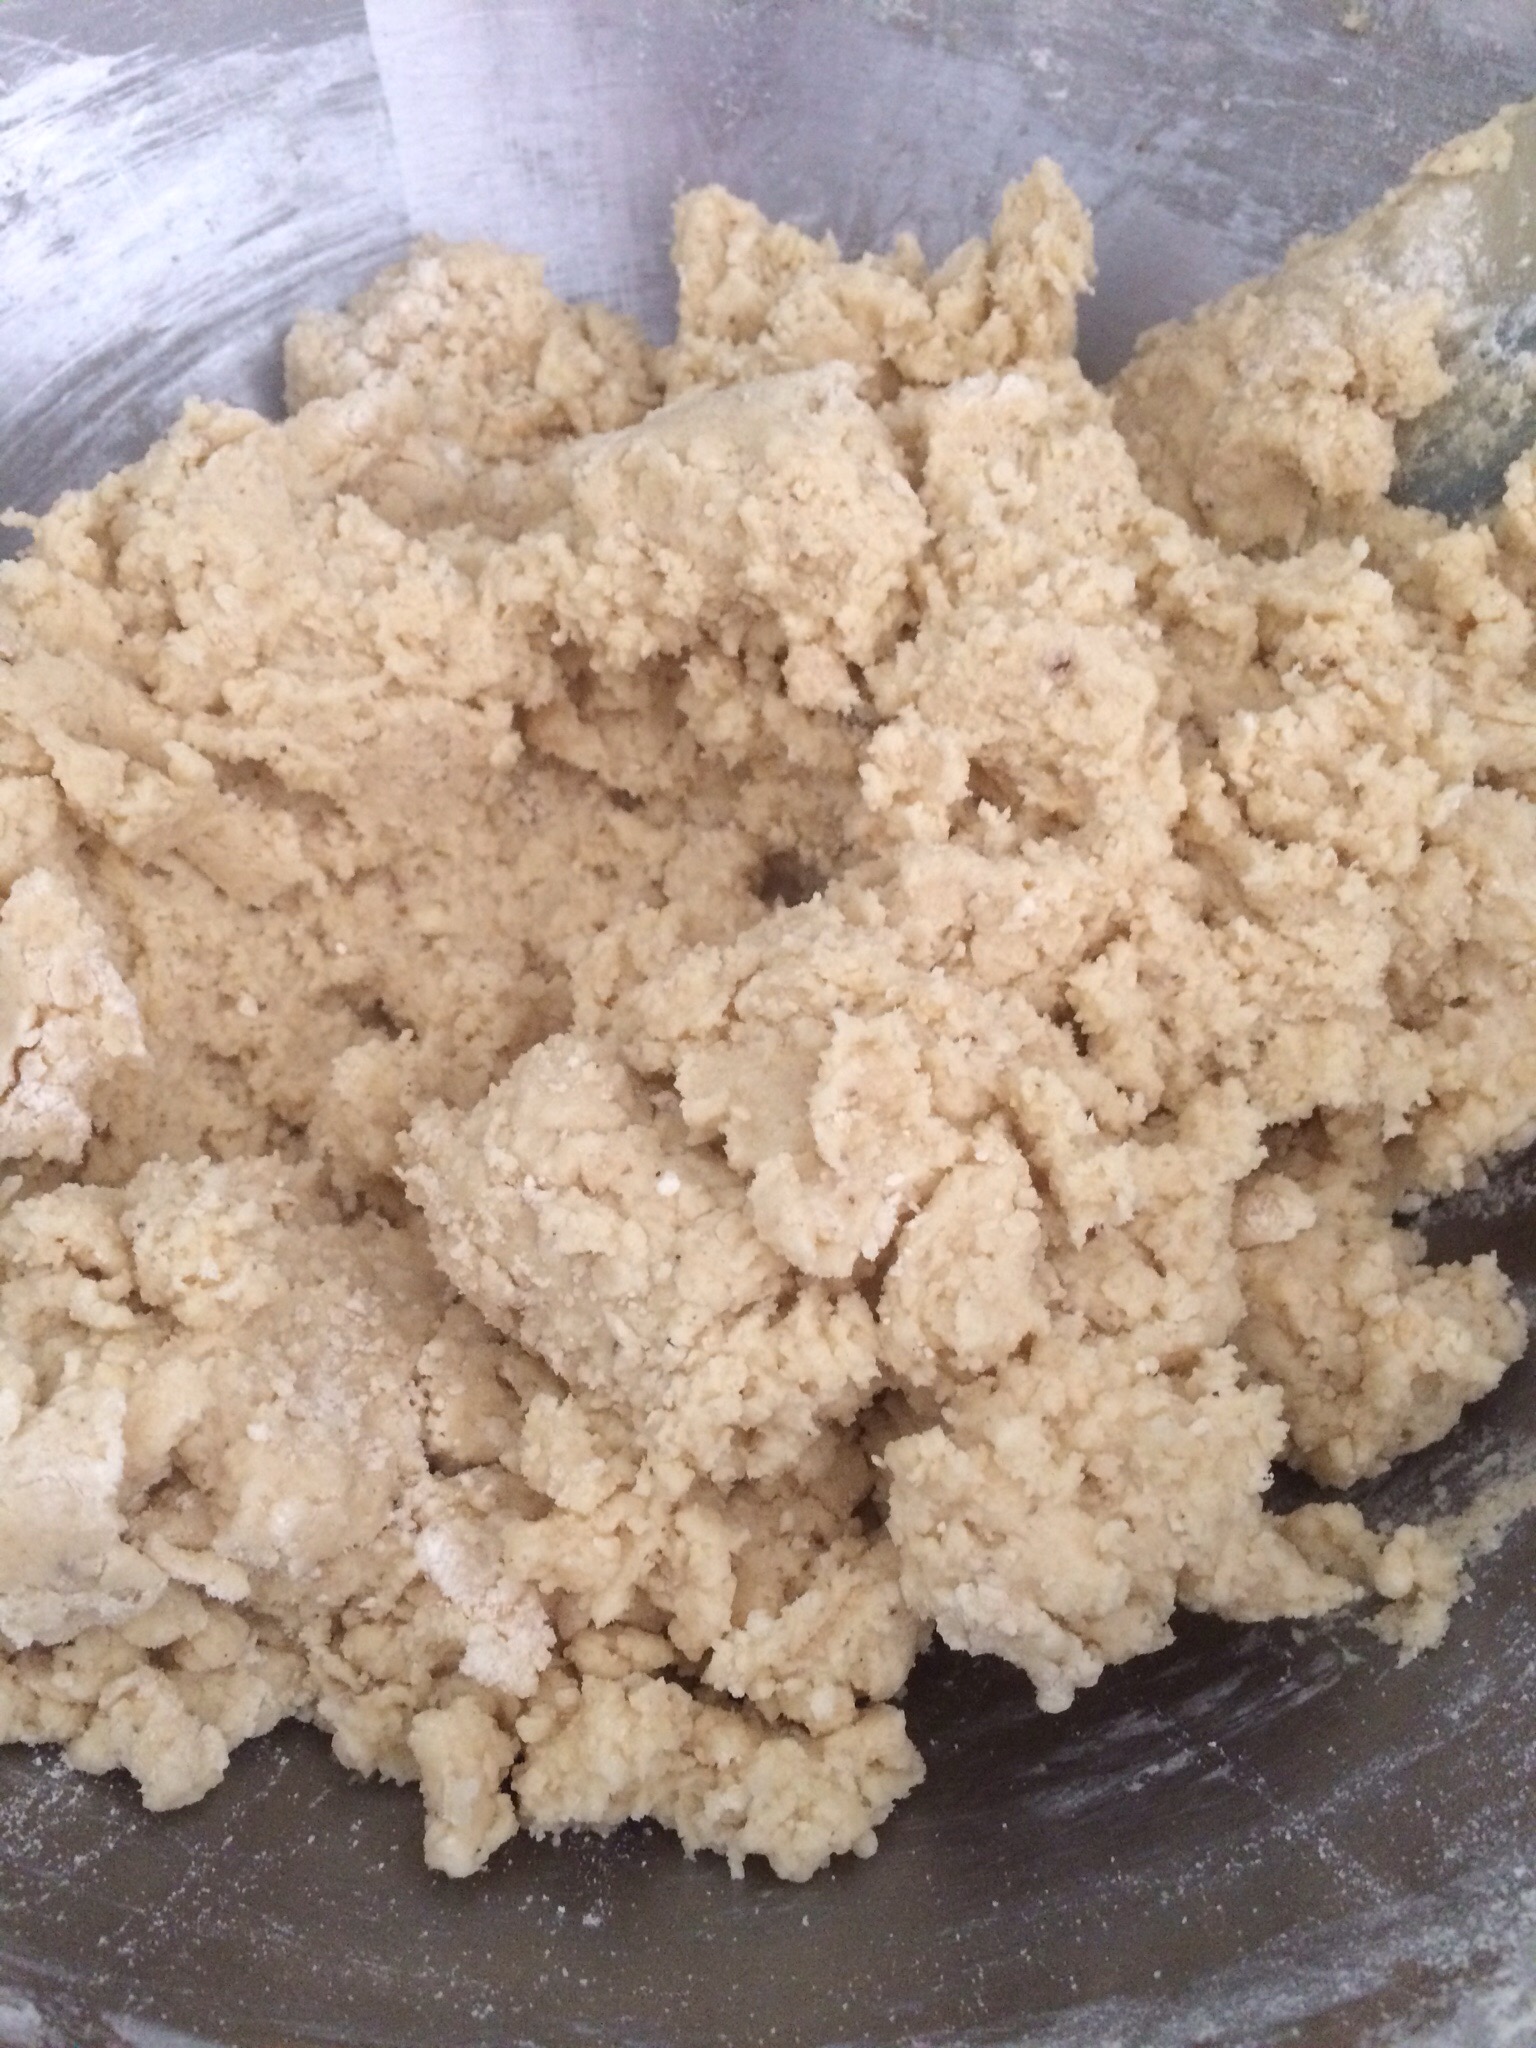
 Add the flour, 1/2 cup at a time and mix it well. The dough should be soft, but not sticky. It should also be moldable.

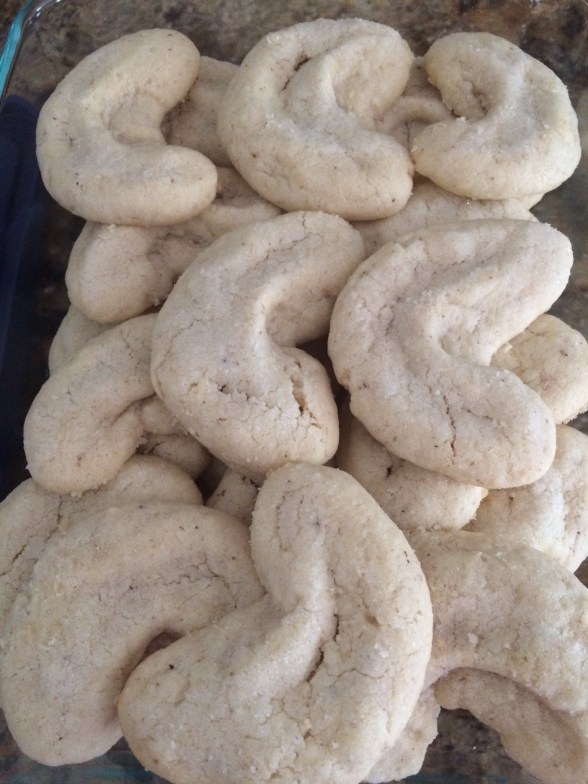
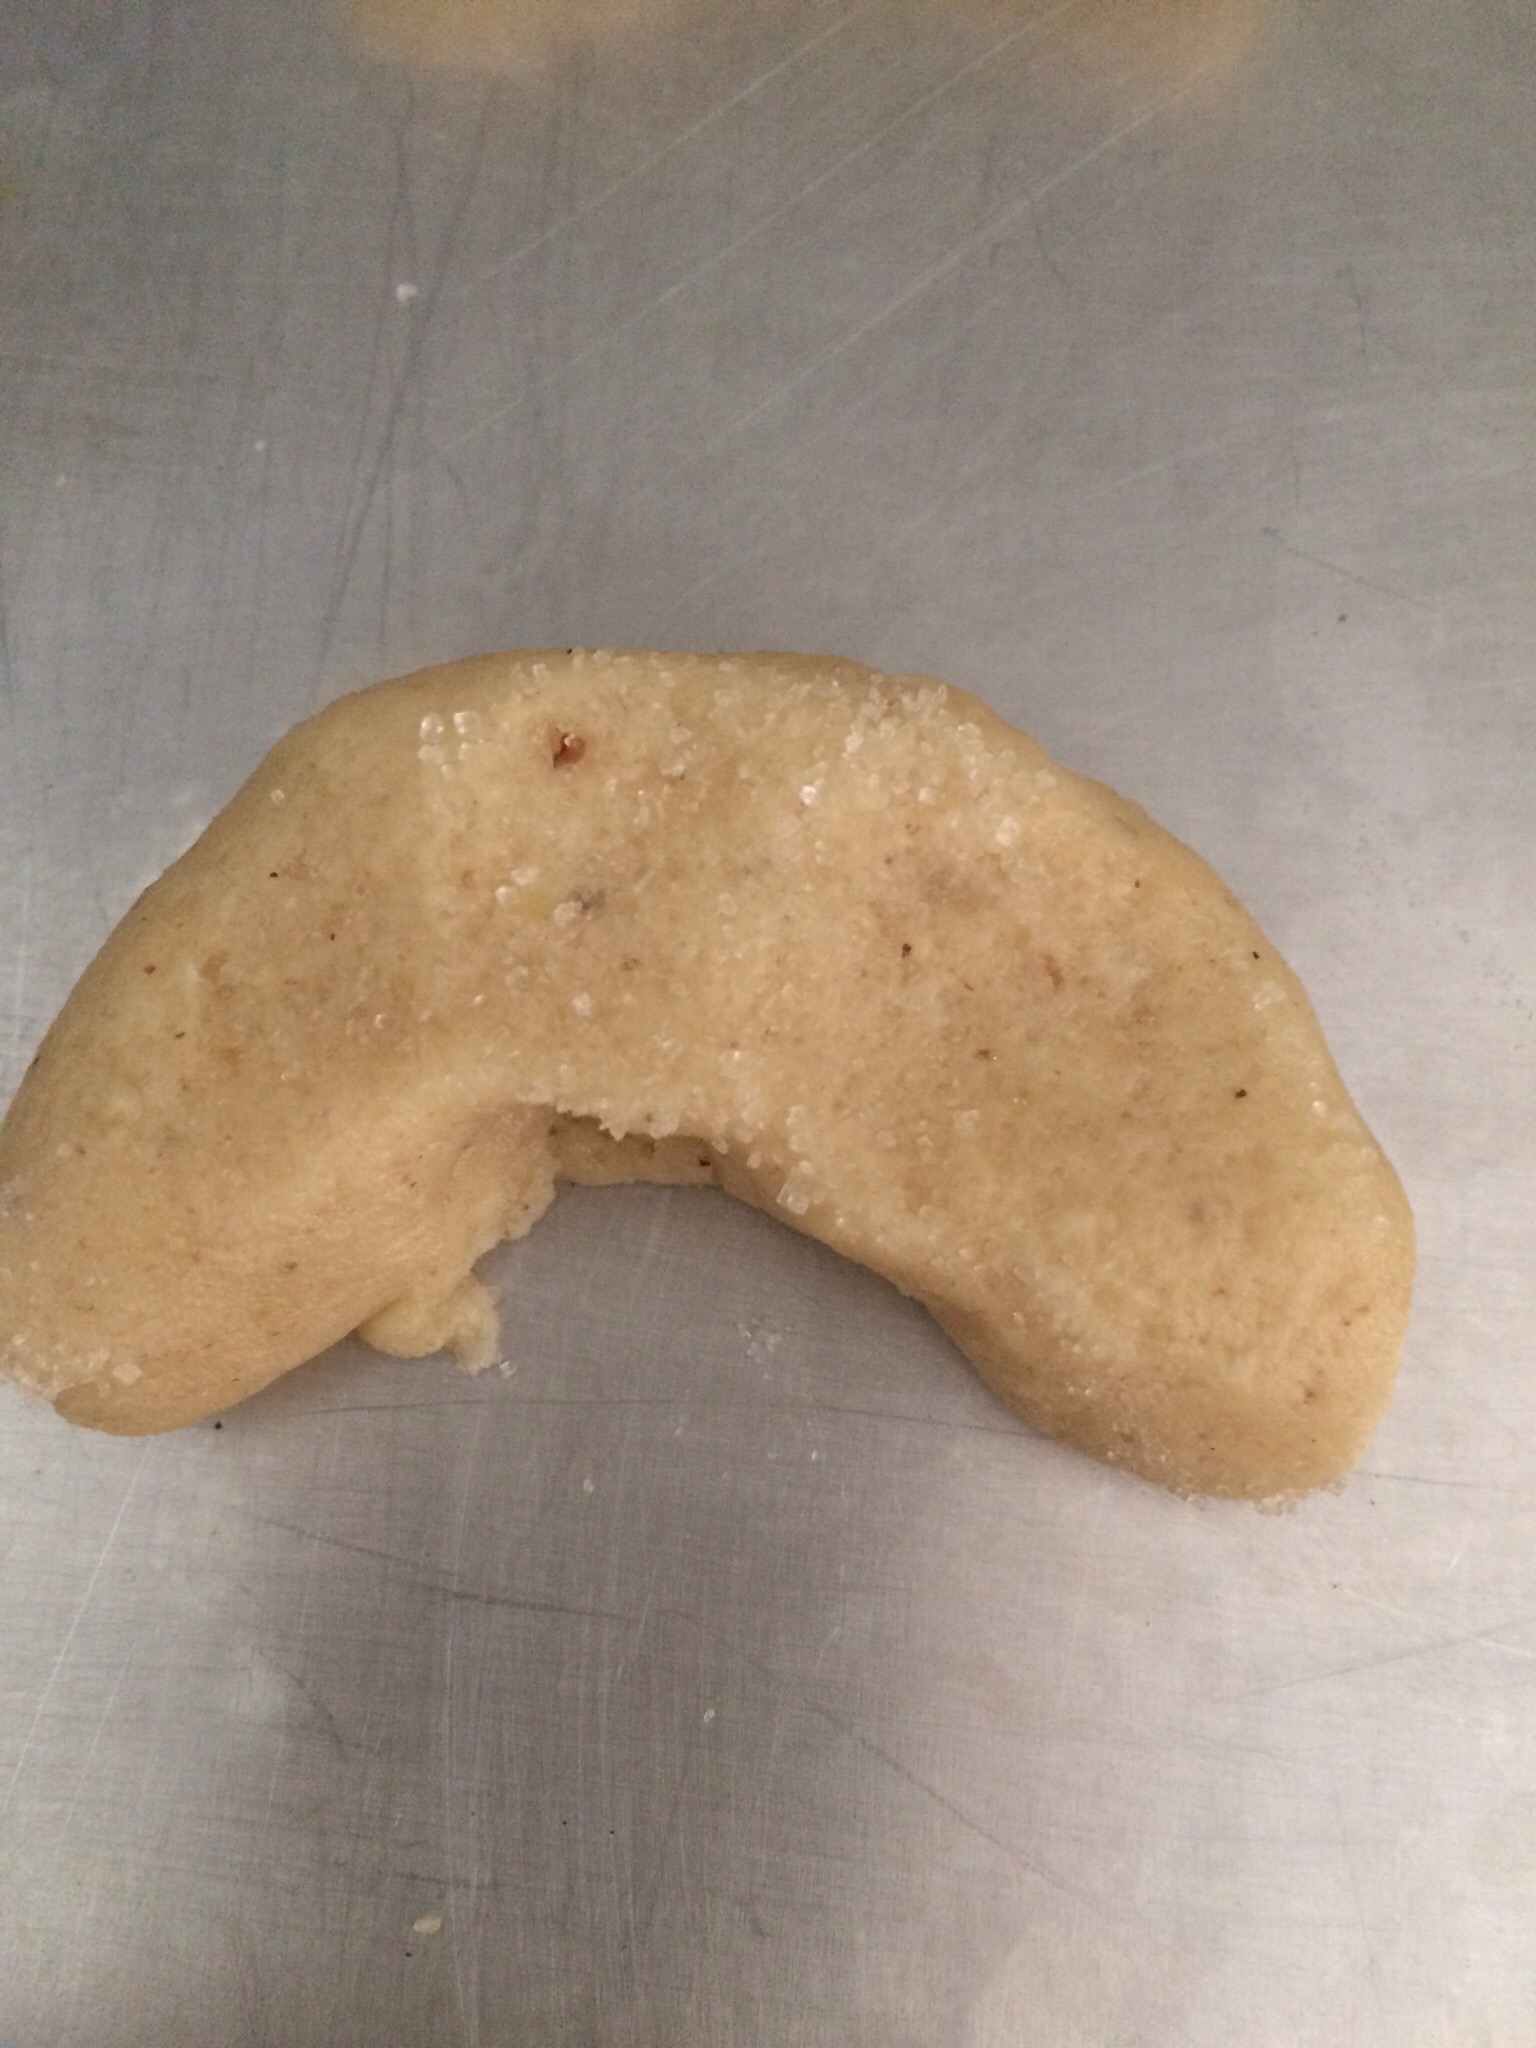
Take about 2 teaspoons of dough (honestly, I am really guessing here – I grab a small chunk, roll it into a ball and adjust until it feels right. I think it’s about 2 teaspoons, but I have no idea.) and roll the dough in your hands into a small ball then a log. Form the log into a cresent moon by bending it around your thumb. Dip one side into the sugar and place on a cookie sheet. Flatten the top a little if needed.  

 The nice thing about these cookies is that they don’t spread out too much. They puff up, but not spread so you can get a lot on one cookie sheet.  

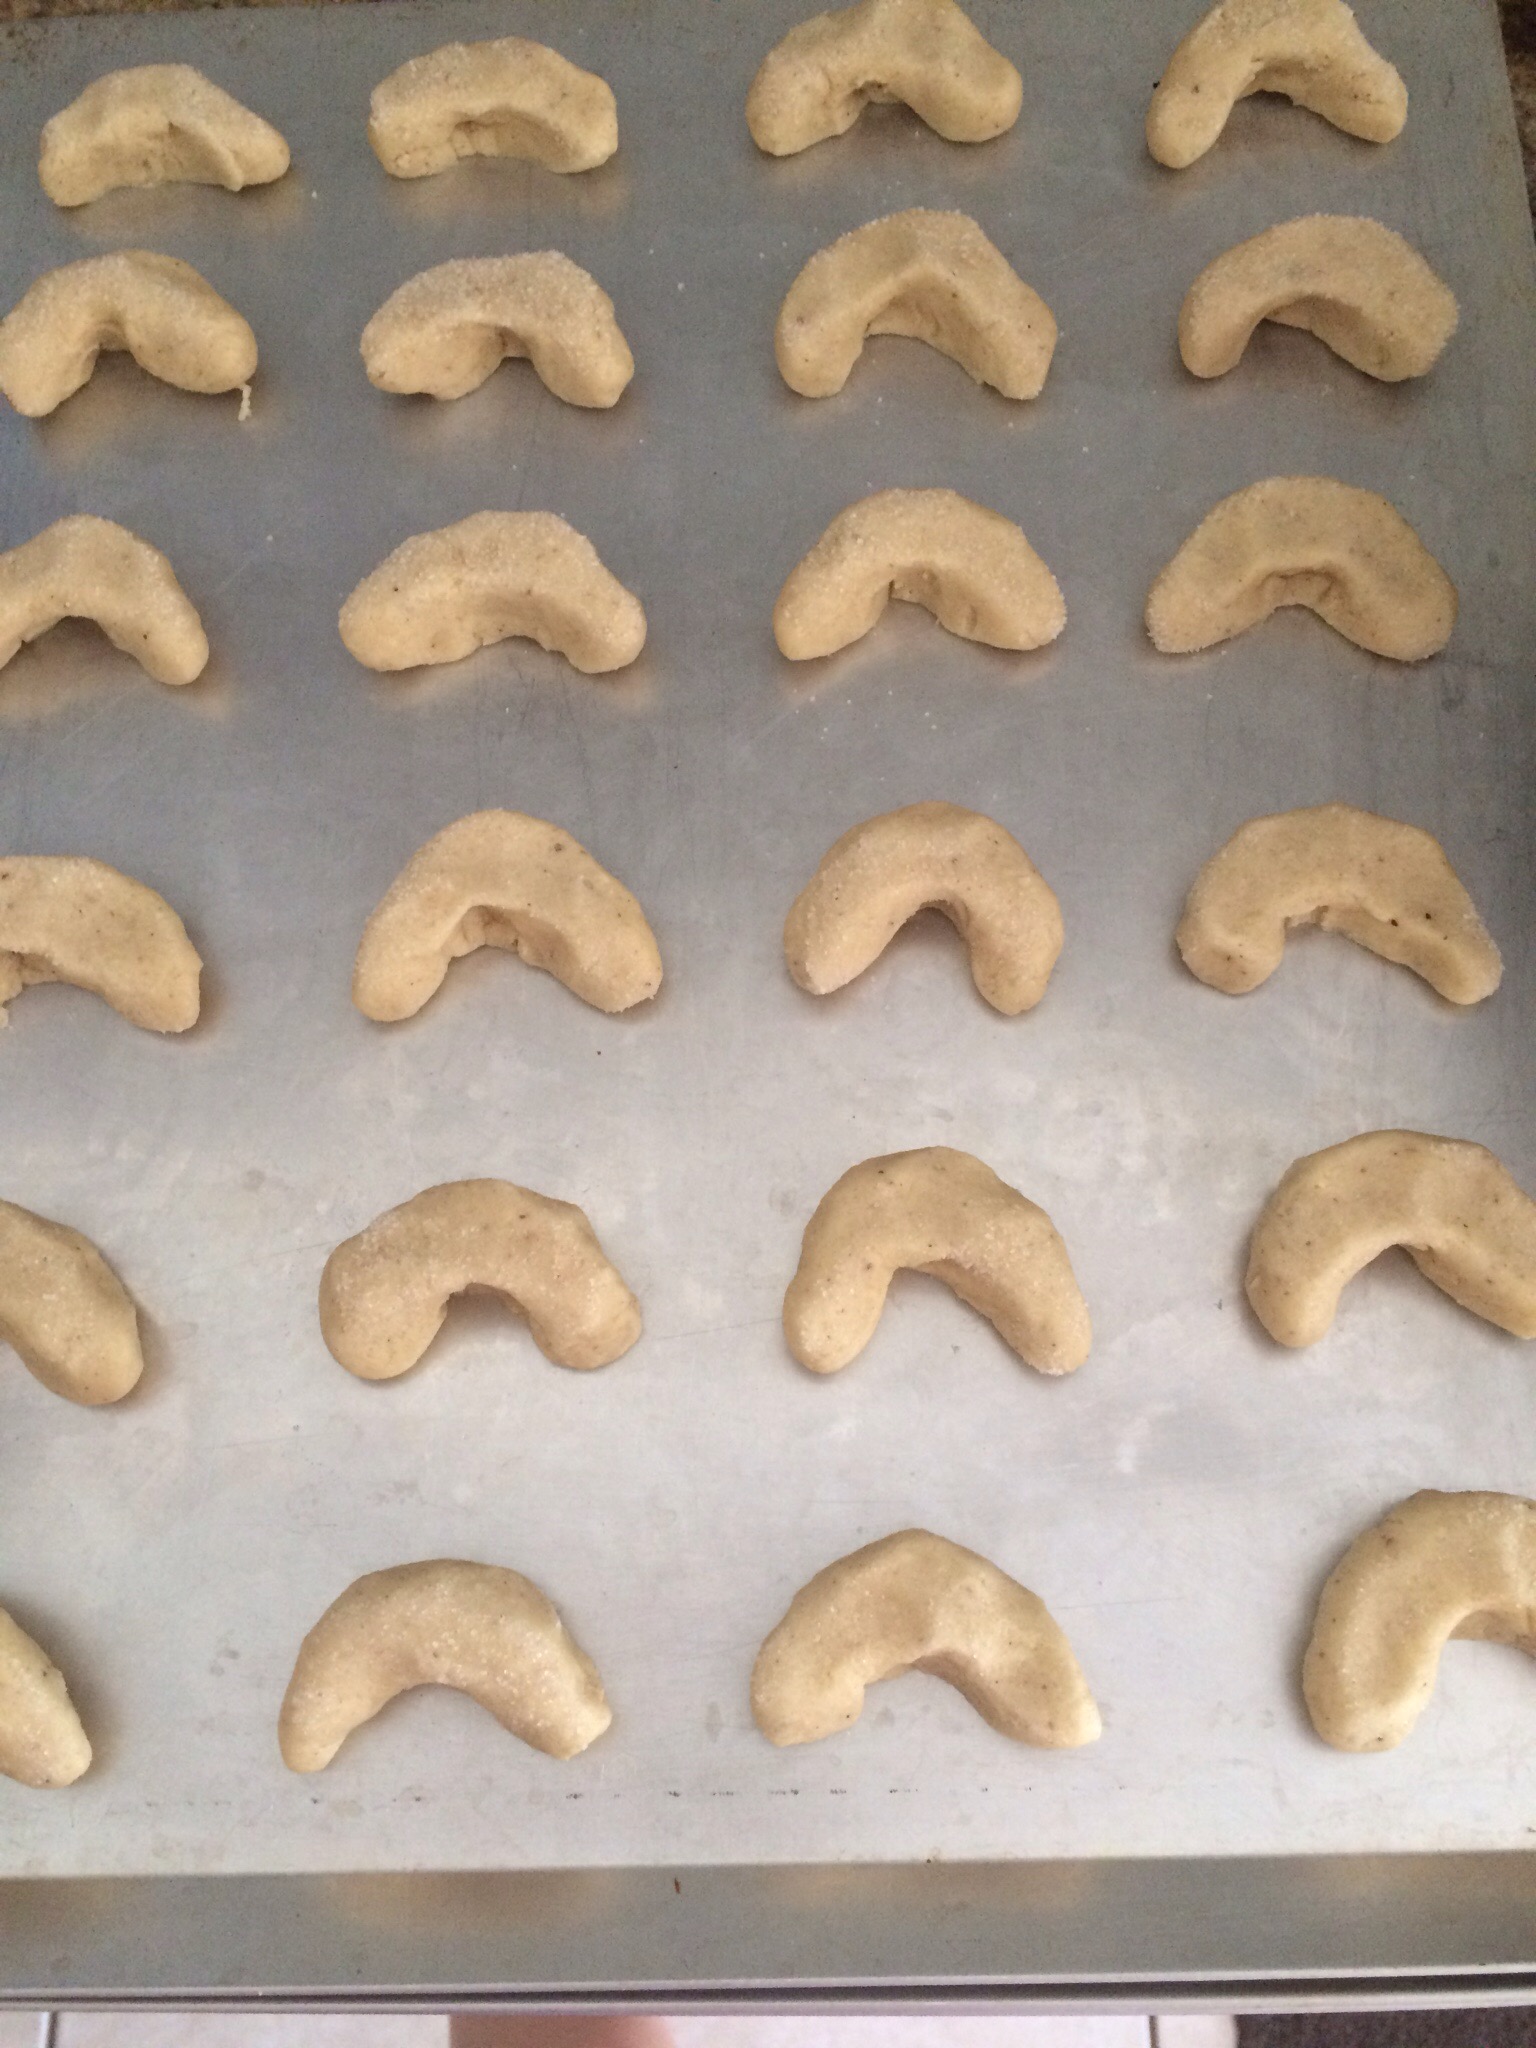
 Bake at 350 for about 13 minutes – check at 12 but you might need to go up to 15 depending on your oven. You want the bottoms just turning brown. Let the cookies rest for a full two minutes before moving them to a wire rack for cooling. Trust me in this – hot, they break really easily. Let them set for a few minutes and you will have set, solid cookies. Rush this, you have a crumbly mess.  

 I need to word on my cresent shapes, but for someone with little patience for cookie making, it’s not bad. 

I’m sure this an old recipe and not terribally original. But, it is good and for me, very reminiscent of Saturday afternoons at Grandmom’s. Sometimes a little nostalgia is good. 

Tofu Stir Fry

One thing I really miss living in south Florida is, oddly, there good Chinese takeout. There is meh Chinese take out near us, and down near Sarasota itself there is a good Chinese restaurant (or so I’ve been told, we haven’t actually been there) but near us? Nothing. I miss good Chinese take out and I was really craving it so I decided to try to recreate some on my own.

I found a recipe that looked pretty easy. I really just wanted the sauce part since the rest I can make up as I go along. The big mistake I made here was not checking my vegetables before going to work in the morning – you know, make sure they are still good and fresh. But I didn’t. My asparagus was iffy and my carrots were on the wilted side. The scallions were fine, and I had to add some peppers to make a full meal. I did the best I could.

IMG_1033The sauce was easy to make and since this really was what I wanted, I went with it. I had some pretty heirloom carrots that provided a nice bit of color (they all taste like carrot, but something about the purple color makes me happy). I didn’t have brown rice, so I just used regular white rice and that was fine.

For a quick dinner that was more about getIMG_1034
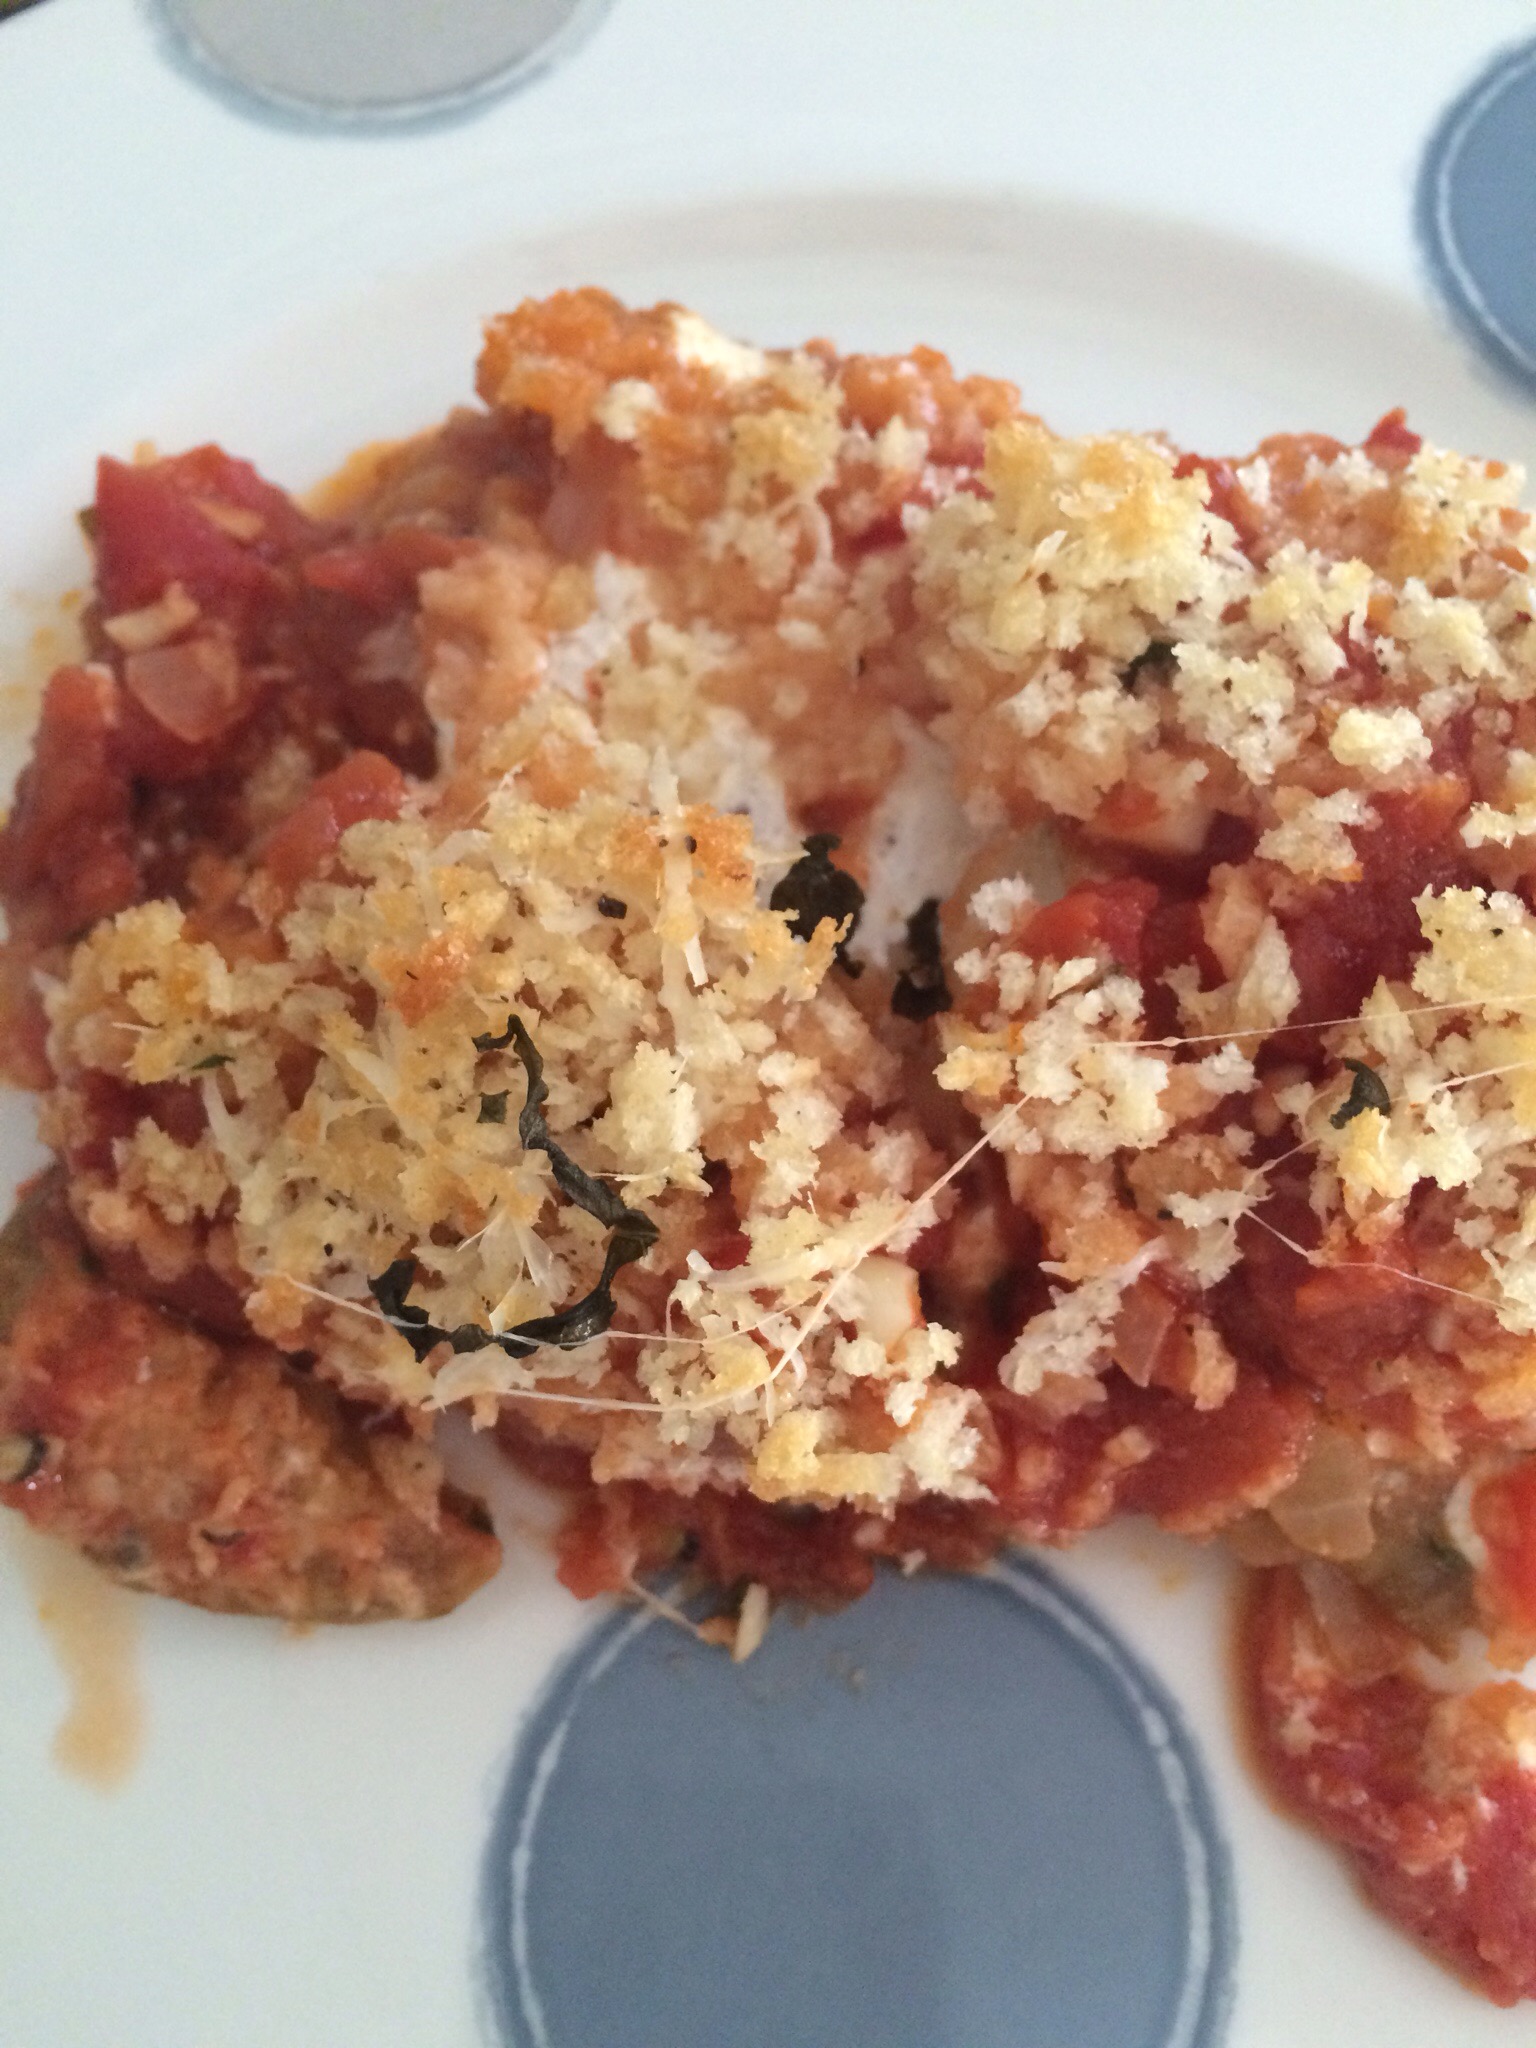
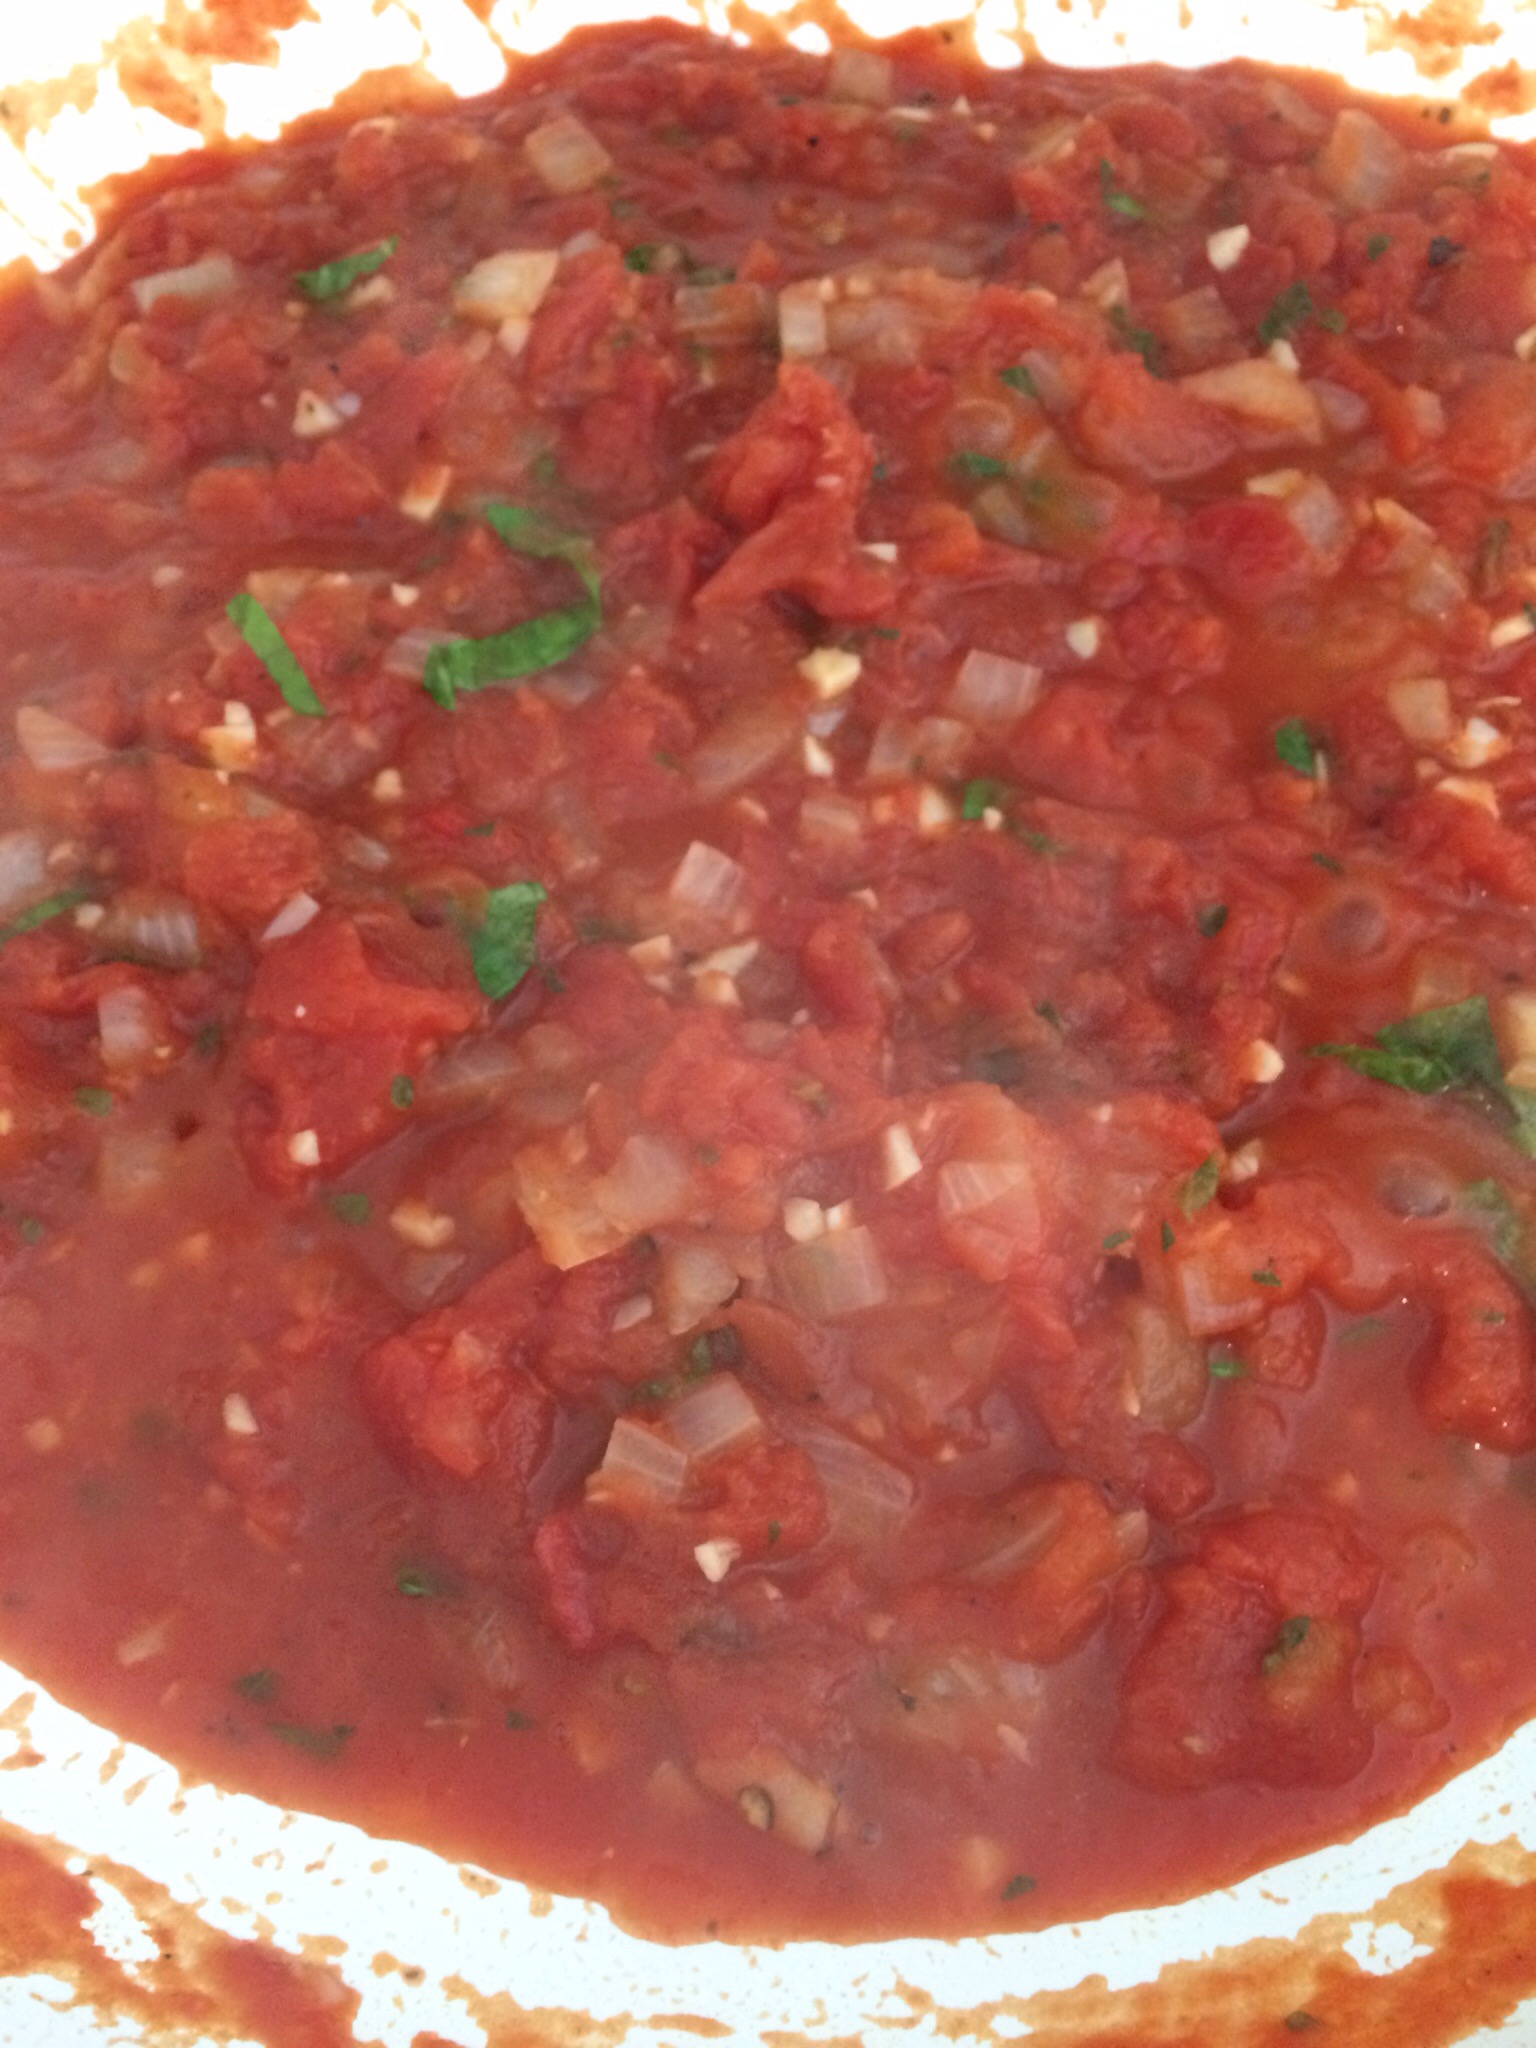
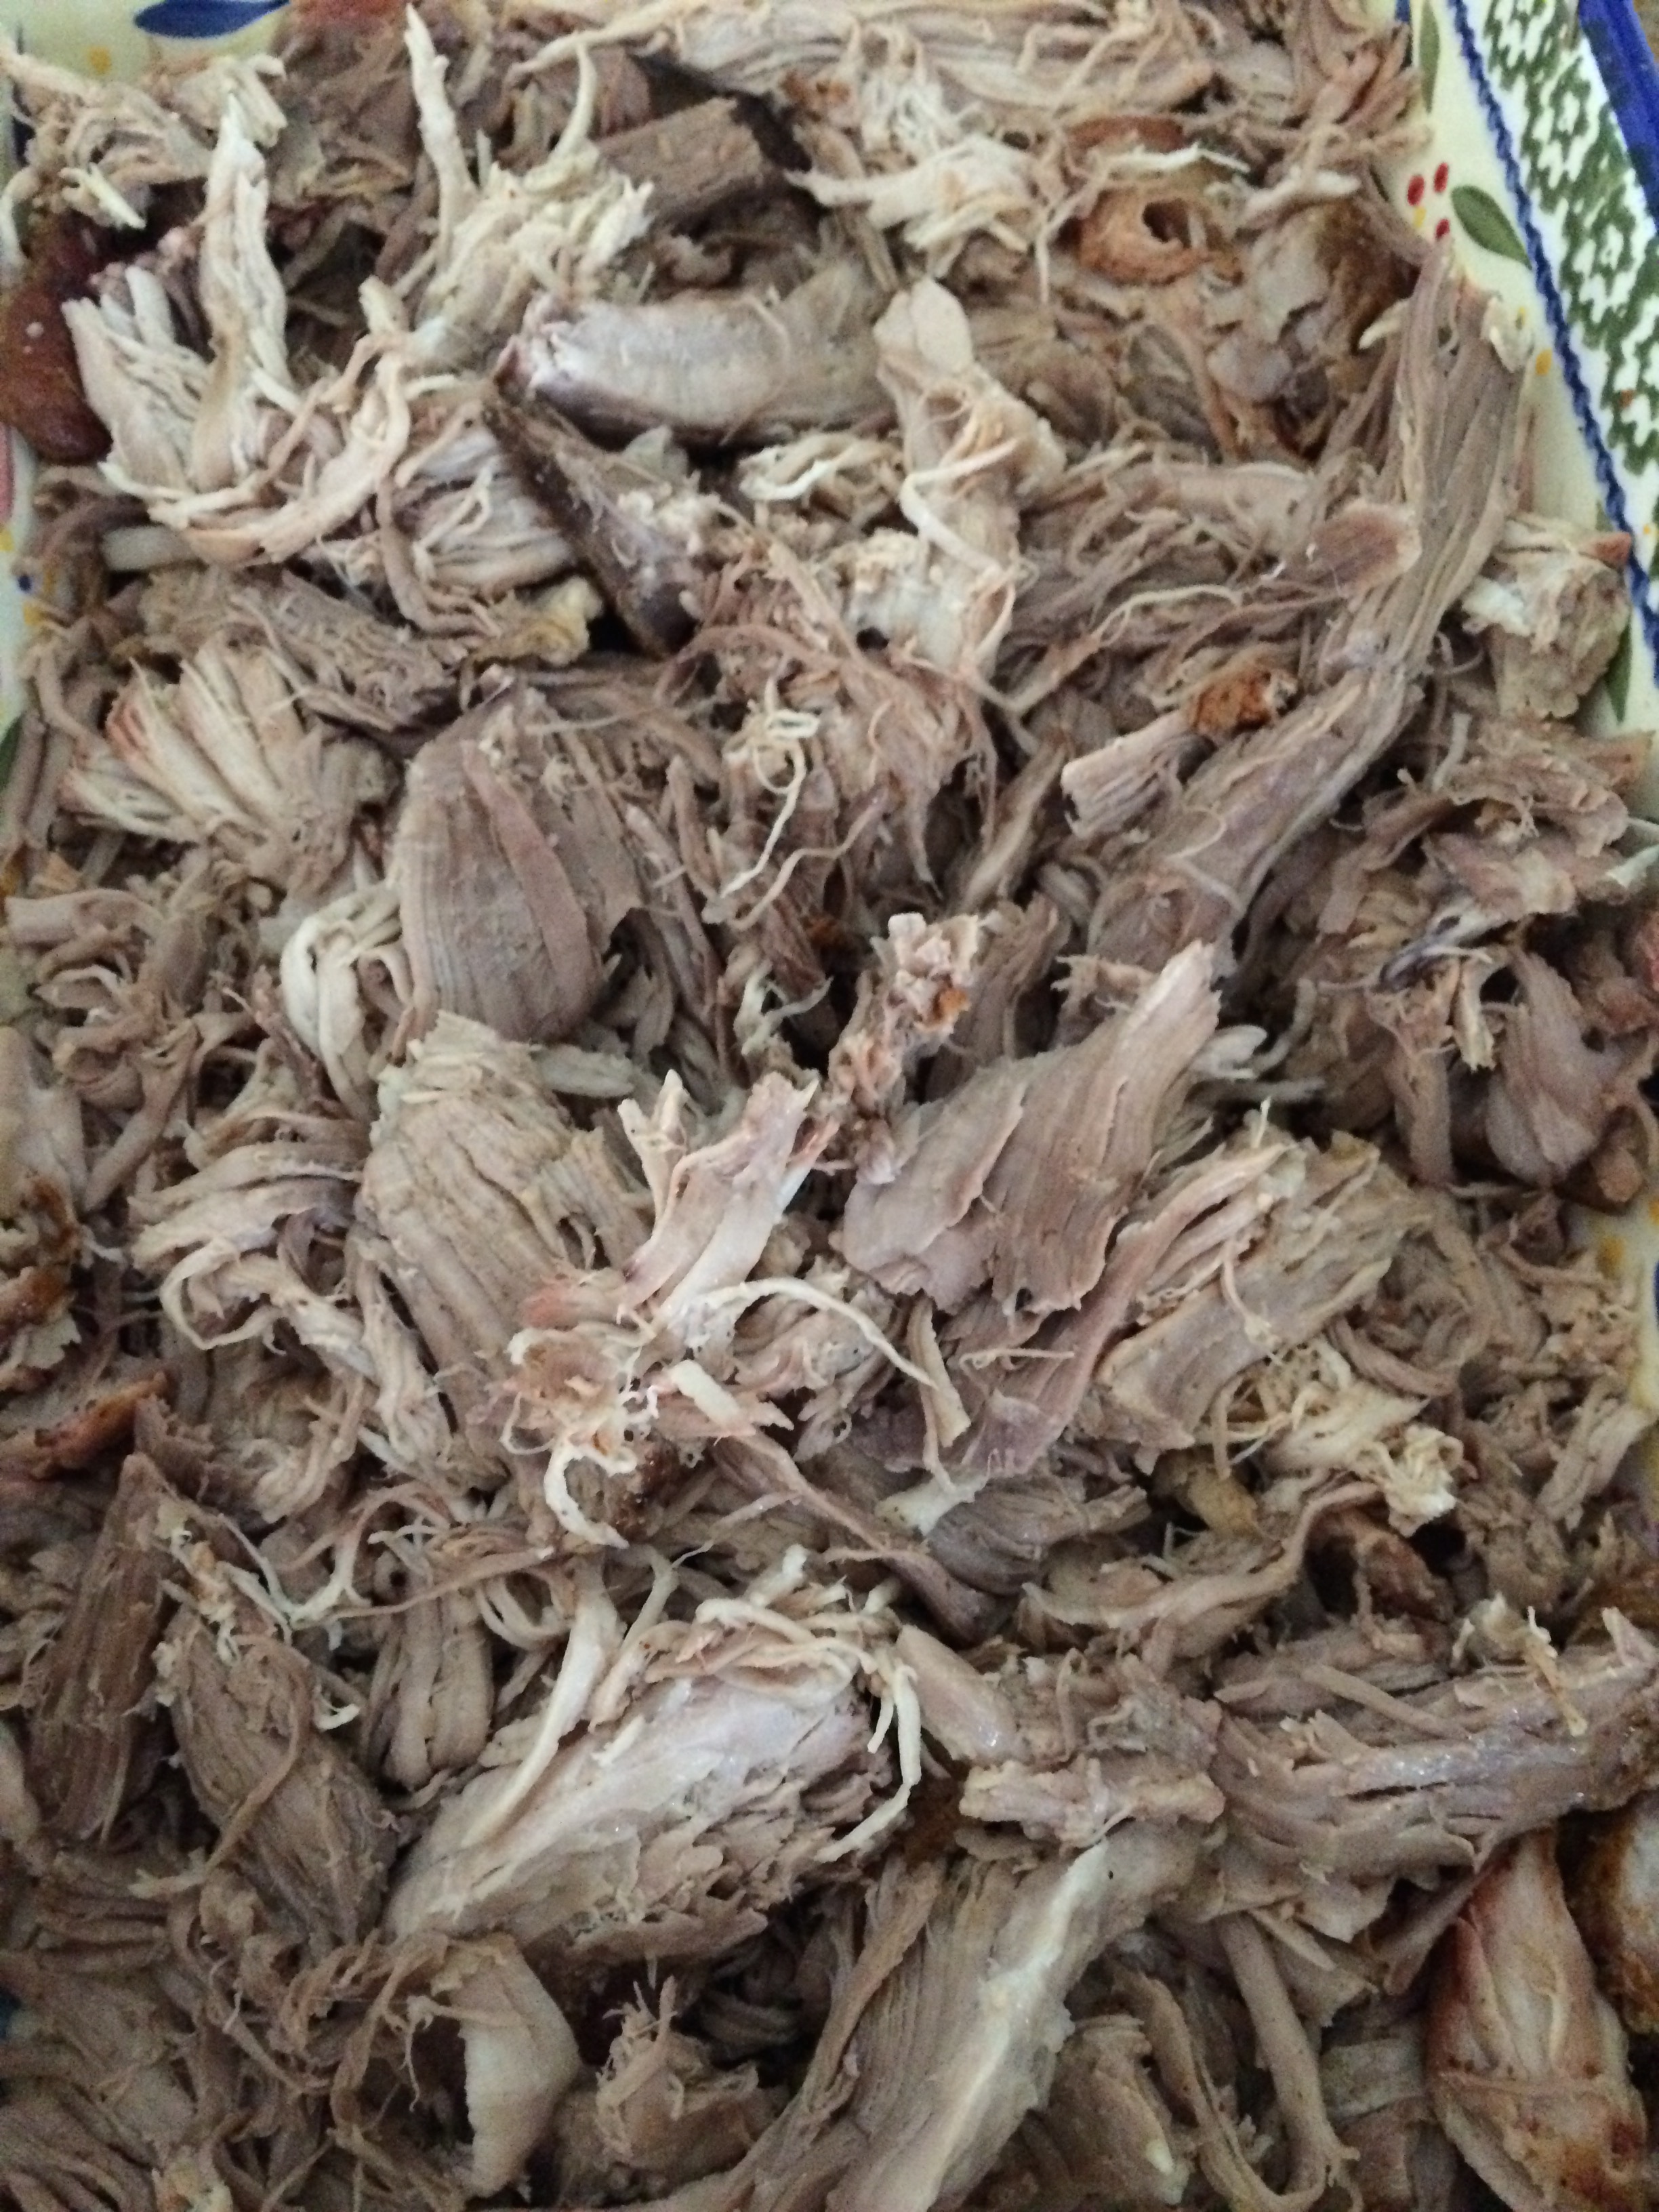
ting the taste that I wanted and using up what was in the fridge, this worked just fine. I won’t say it was my favorite creation, or my most original, but it was good enough. I think this could be a regular rotation dish with fresh vegetables. But it definitely needs fresh.

Eggplant Parm

It has been a while since I’ve managed a post and I’d like to say it was all because I was traveling, or cooking or doing something fantastic. It’s not. Work, and readjusting to the hours, has kept me busy and the photo glitch in the WordPress app made posting slightly more difficult. I think the glitch is finally fixed.

I have been cooking and baking. Recently I made my own version of eggplant parm. No bread coating or frying of the eggplant, but a lighter version.

  
The basic idea came from a Jamie Oliver recipe I found. But I didnt like the sauce recipe, the lack of mozzarella cheese or much other than the baking, sans bread coating, the eggplant. 

So I started with two eggplants that I had in the fridge. I sliced them down and baked in a 350 oven for about ten minutes per side. While those were cooking, I fine diced a half a large sweet onion and about four cloves of garlic. I sweated the onion in a pan with some olive oil then added the garlic for about two minutes at the end. Once the garlic was fragerent I added one can of crushed tomatoes, two tablespoons chopped oregano and salt and pepper. I let that cook while the eggplant baked and set about grating and slicing cheese. Right before finishing the sauce, I added about four large leaves of basil, chopped fine to the sauce.

  
I had some pecorino (about an ounce) left in the fridge, so I used my microplaner to finely grate it and I sliced down about six ounces of mozzarella.

  
To assemble I started like a lasagna and coated the bottom of my pan with a little sauce. I added one layer of eggplant and topped them with the mozzarella. I added a little sauce and the pecorino. One more layer of eggplant, and more sauce. I tool the last of the pecorino and combined it with panko breadcrumbs (about 1/3 cup) and a tablespoon or two of olive oil. I sprinkled that over top and baked in 350 oven for about 40 minutes. 

  
The result was fantastic. Lots of eggplant parm taste, including the crunch of the topping, but still light. Bob really liked this version also and I took his question about where I got the recipe as a compliment. This is definitely a make again.

Recipe:

  • 2 eggplants, sliced about 1/4 in.
  • 28 oz. crushed tomatoes
  • 4 cloves garlic, minced
  • 1/2 large sweet onion, or 1 small onion, diced
  • 2 tablespoons chopped oregano
  • ~2 tablespoons chopped basil
  • 6 oz. mozzarella, sliced
  • 1-2 oz . Pecorino cheese, finely grated
  • 1/3 cup panko breadcrumbs
  • Olive oil
  • Salt and pepper

Chocolate Lime Pie

As I mentioned in the last post, I tried my hand at a new pie this weekend. I was looking for something interesting and came across this recipe in my NYT Cooking app. No turning the oven on, only a few ingredients and two flavors that I love – chocolate and lime. Sure … what could go wrong?

IMG_1079

I assembled all of the ingredients (something I sometimes forget to do) and I followed this recipe pretty exactly. The four limes didn’t produce 3/4 cup of juice, but I figured it was close enough. I read and re-read the recipe about three times before actually beginning. I’m not familiar with condensed milk, so I wanted to make sure I wasn’t missing something. I put the whipping cream, condensed milk and lime juice in a large mixing bowl and began to beat it. I kept at it with an electric mixer because I know there is no way I can whip cream by hand – professional chef I am not. I tried placing the bowl in an ice bath to cool the mixture and help it set, but the stiff peaks would not form. I tried high speed, lower speed, not scraping the bowl, scraping the bowl. I got thick waves or ripples, but no peaks. No matter what I did, it didn’t look like whipped cream or meringue or anything that might be described as “stiff.”  After about ten or fifteen minutes, I gave up.

I had prepared the pie crust earlier ….

IMG_1080

So I folded in the lime zest and poured the whole thing into the prepared pie shell. I figured it might set up in the fridge, so we’d give it a shot.

IMG_1040

After dinner Leta and I tried the pie. I had some brownies I bought at Publix earlier in the week if this was a disaster, and Leta was up for trying it. The pie did set, but it still didn’t look like the picture in in recipe. Close (and I’m not counting the whipped cream rosettes – I wasn’t even trying those) but denser.

IMG_1041

So the final results? I’m confused to be honest. There is a great lime flavor here and I don’t mind the consistency of the filling. But there is no chocolate taste. None. The little chocolate that I shaved on top is totally lost in the filling and the crust is really missing something. I’m usually a HUGE pie crust fan – flour crust, nut crust, graham cracker crust – but this left me very flat.

IMG_1082

So notes for the next time – forget the chocolate. Its not a chocolate pie and never will be. Try whipping the milk and cream without the lime juice first, or whip the cream then add the milk and then the juice. Use a regular flour pie crust – this could be a great lime pie with a few tweaks. But it needs tweaking.

Labor Day Weekend

Like every Labor Day weekend, Bob heads to Atlanta and I stay home with the furry creatures for a weekend of doing … well, whatever I want. I know I could probably go with him if I really wanted to but I don’t like taking off work in the first few weeks of school if I can help it and, in all honesty, a weekend with 100,000 or so people is not my idea of fun.

So this week I’ve caught up on work. Boring, but productive. I’ve planned menus for next week and braved the grocery store mid morning on a Saturday. That is one of those things you do now and again just to remember why stopping on the way home from work is so much better.

Leta was coming over for lunch today – we decided to do a little girl’s catch up today – so I decided to make the BBQ pulled pork with a nice summer salad and experiment with a new pie.

Grandmom made the best BBQ sauce – she really did. I’ve used her basic recipe for years, and tweaked it to make it kind of grand mom’s BBQ sauce. The recipe is fairly basic, but honestly, it has never disappointed.

My version of Grandmom’s BBQ sauce:

  • 1/2 cup catsup
  • 1/4 cup maple syrup
  • 1/4 cup water
  • 1 tablespoon vinegar (apple cider or rice vinegar works well)
  • 1 tablespoon butter
  • 1 tablespoon minced onion
  • 1 1/2 tablespoons ground mustard
  • 1/4 teaspoon garlic salt
  • 1/2 teaspoon chili powder
  • 1/4 teaspoon season all
  • 1/2 teaspoon BBQ seasoning

Mix all the ingredients on the stove and bring to a boil. Boil, stirring, for one minute.

That’s it – that is the whole thing. Not complex and the ingredients don’t have to be perfect – add more mustard or less onion as you see fit. I’ve even substituted various seasonings for things I didn’t have on hand – season all can be hard to find, but cumin and paprika substitute ok. No garlic salt, no problem, mince a clove and you are fine.

The Pulled Pork is also a go to favorite. its easy and makes lots of leftovers.

  • 1 pork butt or half picnic (bone in)
  • chili powder
  • salt and pepper
  • 1 bottle beer (or hard cider or regular apple juice)
  • 1 – 1 1/2 cups broth (chicken, vegetable, beef – doesn’t really matter)

IMG_1036

Season the pork with the chili powder salt and pepper. Sear on all sides. Pour in the beer (or juice) into the pot and add broth until about 1/2 of the pork is in liquid. Cover tightly and braise in a 275 degree oven for about 2.5 hours. (This make take longer depending on size, but 2.5 is about right for a 3-4 pound pork shoulder. Pull out of liquid and shred with two fork.

IMG_1037

The salad was all the things that say summer to me – corn, tomatoes, cucumber – mixed with some arugula and a nice vinaigrette. I did marinade the the corn, tomato, cucumber and onion mixture for an hour before adding in the chives and arugula and that did work really well.

IMG_1039

The pie I made for dessert will be its own post. I realized that getting back into the swing of work has left me with little to write about, so I decided to save the pie. I haven’t been that adventurous in cooking now that I’m at work every day, but I’m hoping to get a little more creative soon. No promises, but hopefully.