Lately I’ve been on a baking kick. I’ve made coconut cupcakes that totally didn’t turn out, lime buttercream that totally did turn out (which caused me to make vanilla cupcakes for the lime buttercream), malted cupcakes with mocha malt buttercream (cakes were great, buttercream only ok) and a coconut-lime pie where the curd and the crust were fantastic, the cream tasted good, but had a weird texture. My experiments have been a little . . . interesting lately.
-

- coconut cupcakes (did not work)
-
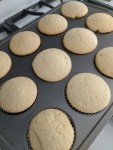
- vanilla cupcakes (oh so good)
-
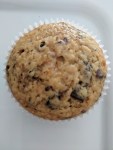
- malted cupcake
-
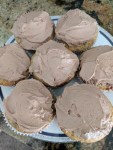
- malted mocha icing
-
- coconut lime pie
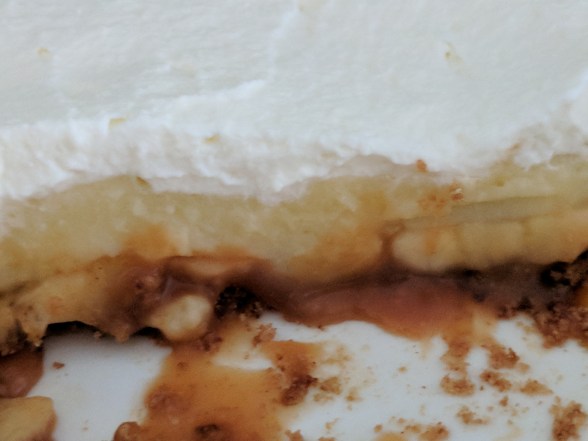
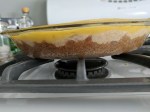
This weekend the experiment was banana pie. I’m of mixed minds when it comes to banana pie – I love banana and I love pie, but sometimes banana in pie isn’t great. So I decided to start with mom’s banana pudding recipe, make my own caramel and top it with a lightly sweetened whipped cream.
The one thing I can say about this pie is that the caramel and banana work really well together. Match made well. Bob liked it – calling it one of my best pies – so there is a definite reason to keep this recipe. The only thing I would do differently is use a vanilla wafer or traditional pastry crust instead of the cinnamon graham cracker crust. But it is still really good.


Recipe:
- Caramel:
- 1/2 cup granulated sugar
- 3 tablespoons butter
- 1/4 teaspoon salt
- 1/4 cup heavy cream
- 1 teaspoon vanilla extract
In a medium saucepan, heat sugar over medium heat until it melts and turns an amber color. Stir as little as possible to prevent crystal formation. Reduce heat to low (or remove from heat) and add butter, stirring to incorporate. If on heat, remove from heat and add vanilla and heavy cream. Mix well and allow to cool. (I ran it through a strainer just to get it super smooth, but that is unnecessary, really.)
- Pie filling:
- 1.5 cups whole milk
- 2 eggs
- 1/3 cup sugar
- 3 tablespoons corn starch
- 1/2 teaspoon vanilla
- pinch of salt
Combine all ingredients in a medium sauce pan and cook, stirring frequently, over medium heat until it thickens. (I did add the vanilla at the end of the cooking, just because I forgot to add it, and it still worked.) Whisk frequently so lumps do not form, and allow to cool before filling the pie crust.
To assemble the pie, take the crust (graham cracker, vanilla wafer or traditional pastry) and coat the bottom with about half the caramel mixture. Spread to an even coating.
Chop one banana and layer the slices over the caramel to cover the bottom of the pie dish.
Pour pudding over banana even out to a relatively uniform layer. Add whipped cream (~3/4 cup heavy cream and 1 tablespoon confectioners sugar) over pudding layer. Cover and chill for about two hours.


 Version 1 (makes 11 1/2 cup portions):
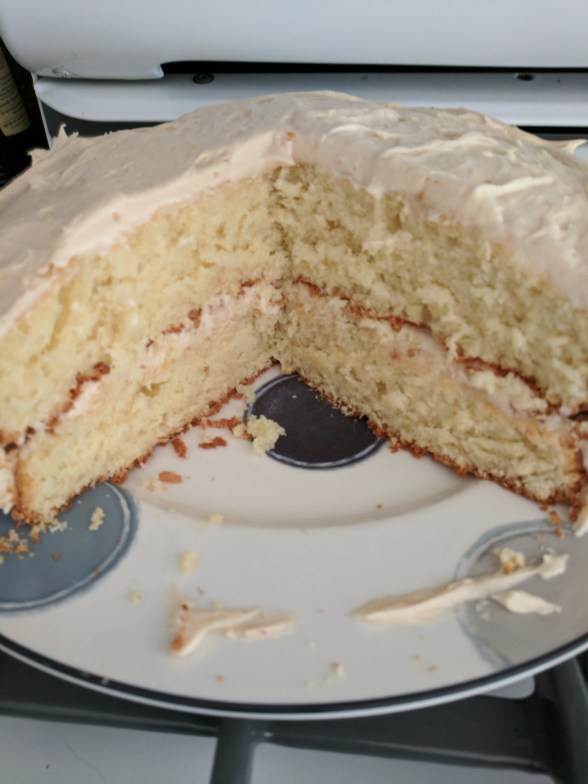
 robably anyone who grew up in the 70s and 80s remembers the orange Betty Crocker cookbook. I think every house had one and unlike a lot of cookbooks today that are specific to one type of food (grilling, vegetarian, sauces, desserts) this one has just about everything you can think of in it. It definitely reflects the times when you read through some of the recipes, but for desserts, for cakes, I love this cookbook. I found a copy at a used bookstore in California when I lived there (I think for a dollar since it was pretty beat up on the outside) and snagged it. While I don’t go to it often for meals, I definitely go to it for baking ideas. Classics have a place.


 Over the years I’ve search for the perfect brownie recipe, and I always seem to come back to


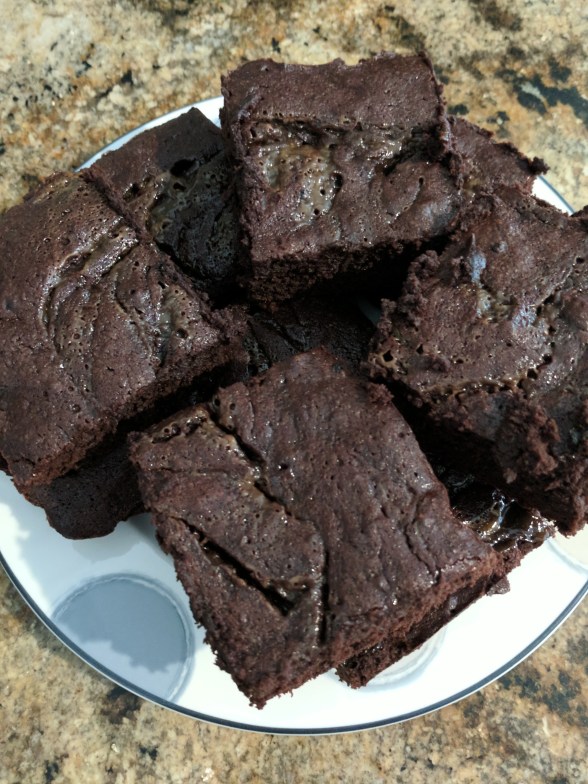
 The results – oh my goodness! Talk about a near perfect brownie. These are rich, chocolate-y and goo-y. There is enough caramel in them to taste it, but not so much it overpowers the brownies. I cut them into rather large squares, but that’s ok – I can then “split” a brownie with Bob and feel good that I’m not eating the whole thing. … Or I can just eat the whole thing and call it dinner.


